How To Install Wordpress With Apache On Ubuntu 19.04
Installing wordpress on ubuntu 19.04 with apache, mariadb server and php is very easy task. You can also use this installation procedure that I will cover here if you are using mysql server because mariadb server is equal to mysql server.
1. Open command line app such as windows cmd app, linux terminal app, mac terminal app and so on.
2. Login into your vps server hosting via command line app.
To do so, type following command lines and hit enter.
ssh vps-login-username@vps-ip-addressYou will be asked for vps login username password. If so, type the password and hit enter.
3. Install apache.
To do so, type following command lines and hit enter.
sudo apt install apache24. Start apache.
To do so, type following command lines and hit enter.
sudo systemctl start apache25. Restart apache.
To do so, type following command lines and hit enter.
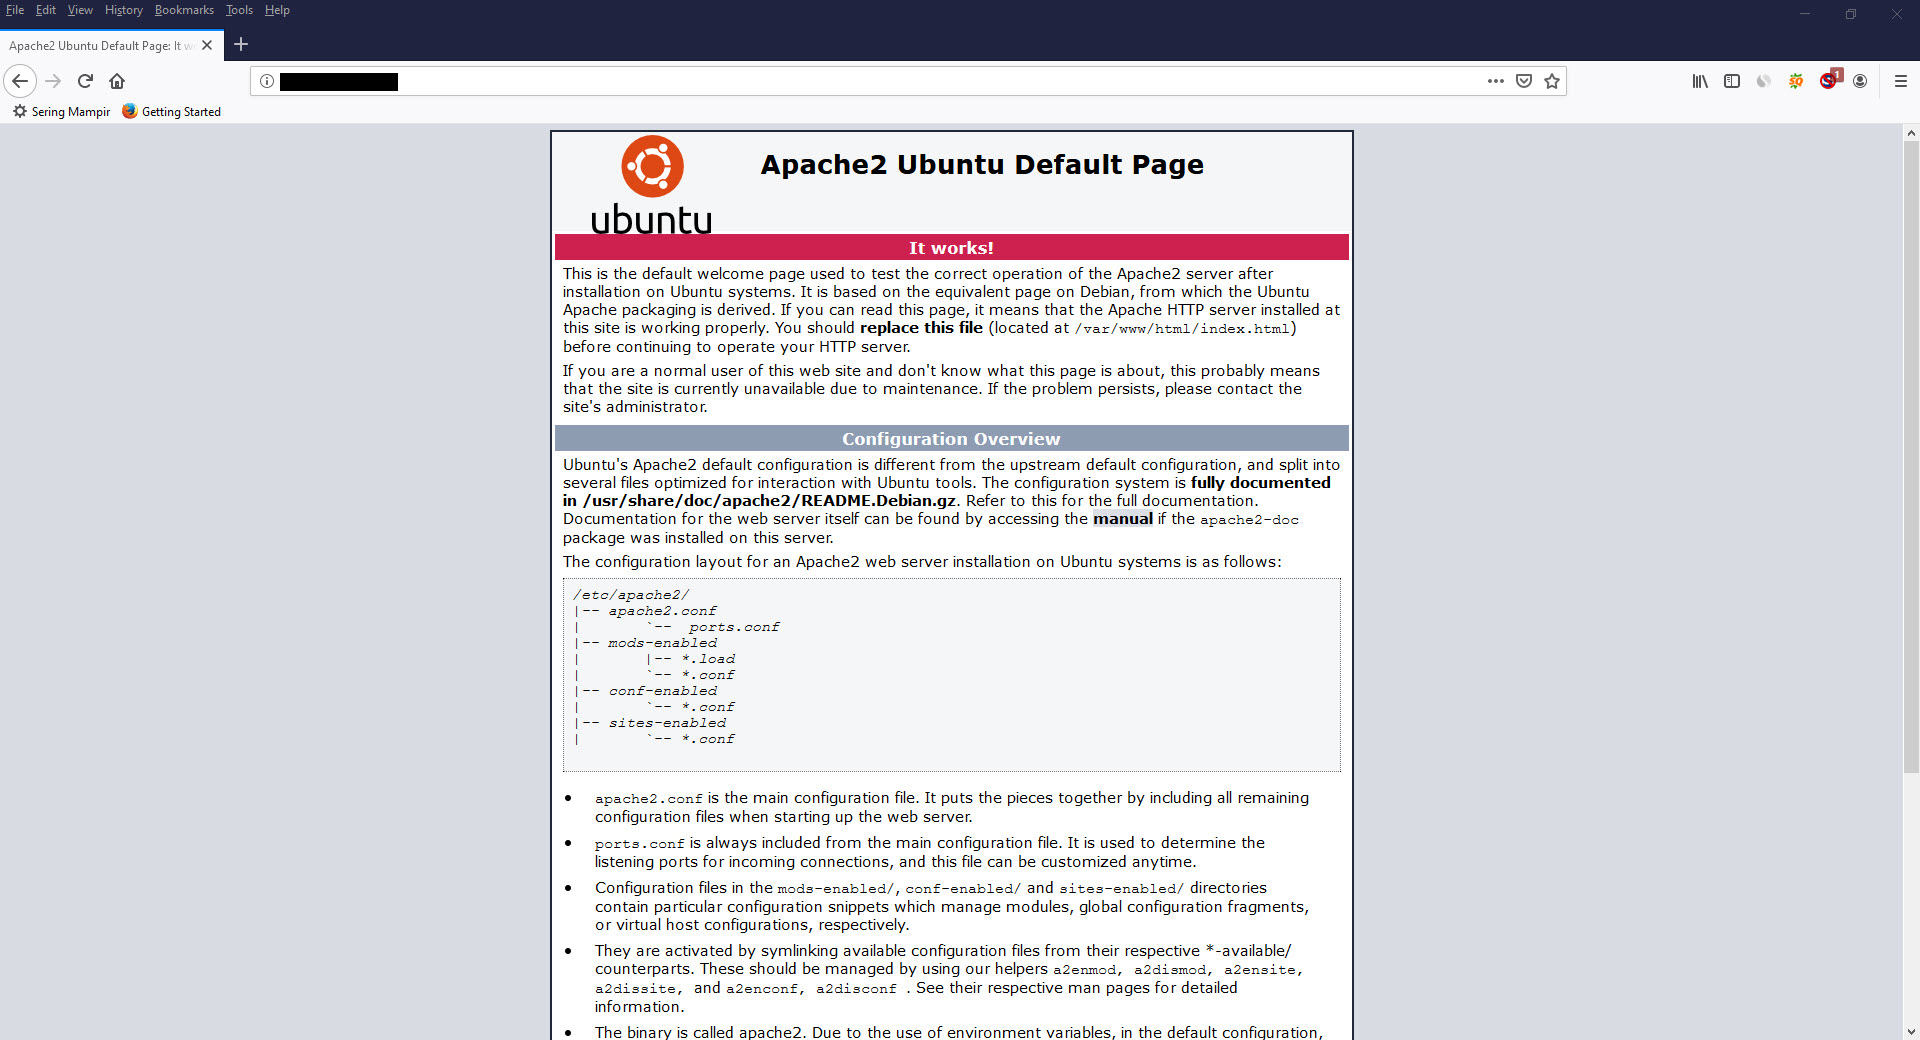
sudo systemctl restart apache26. Check status of the apache.
To do so, type following command lines and hit enter.
sudo systemctl status apache2

7. Install PHP.
To do so, type following command lines and hit enter.
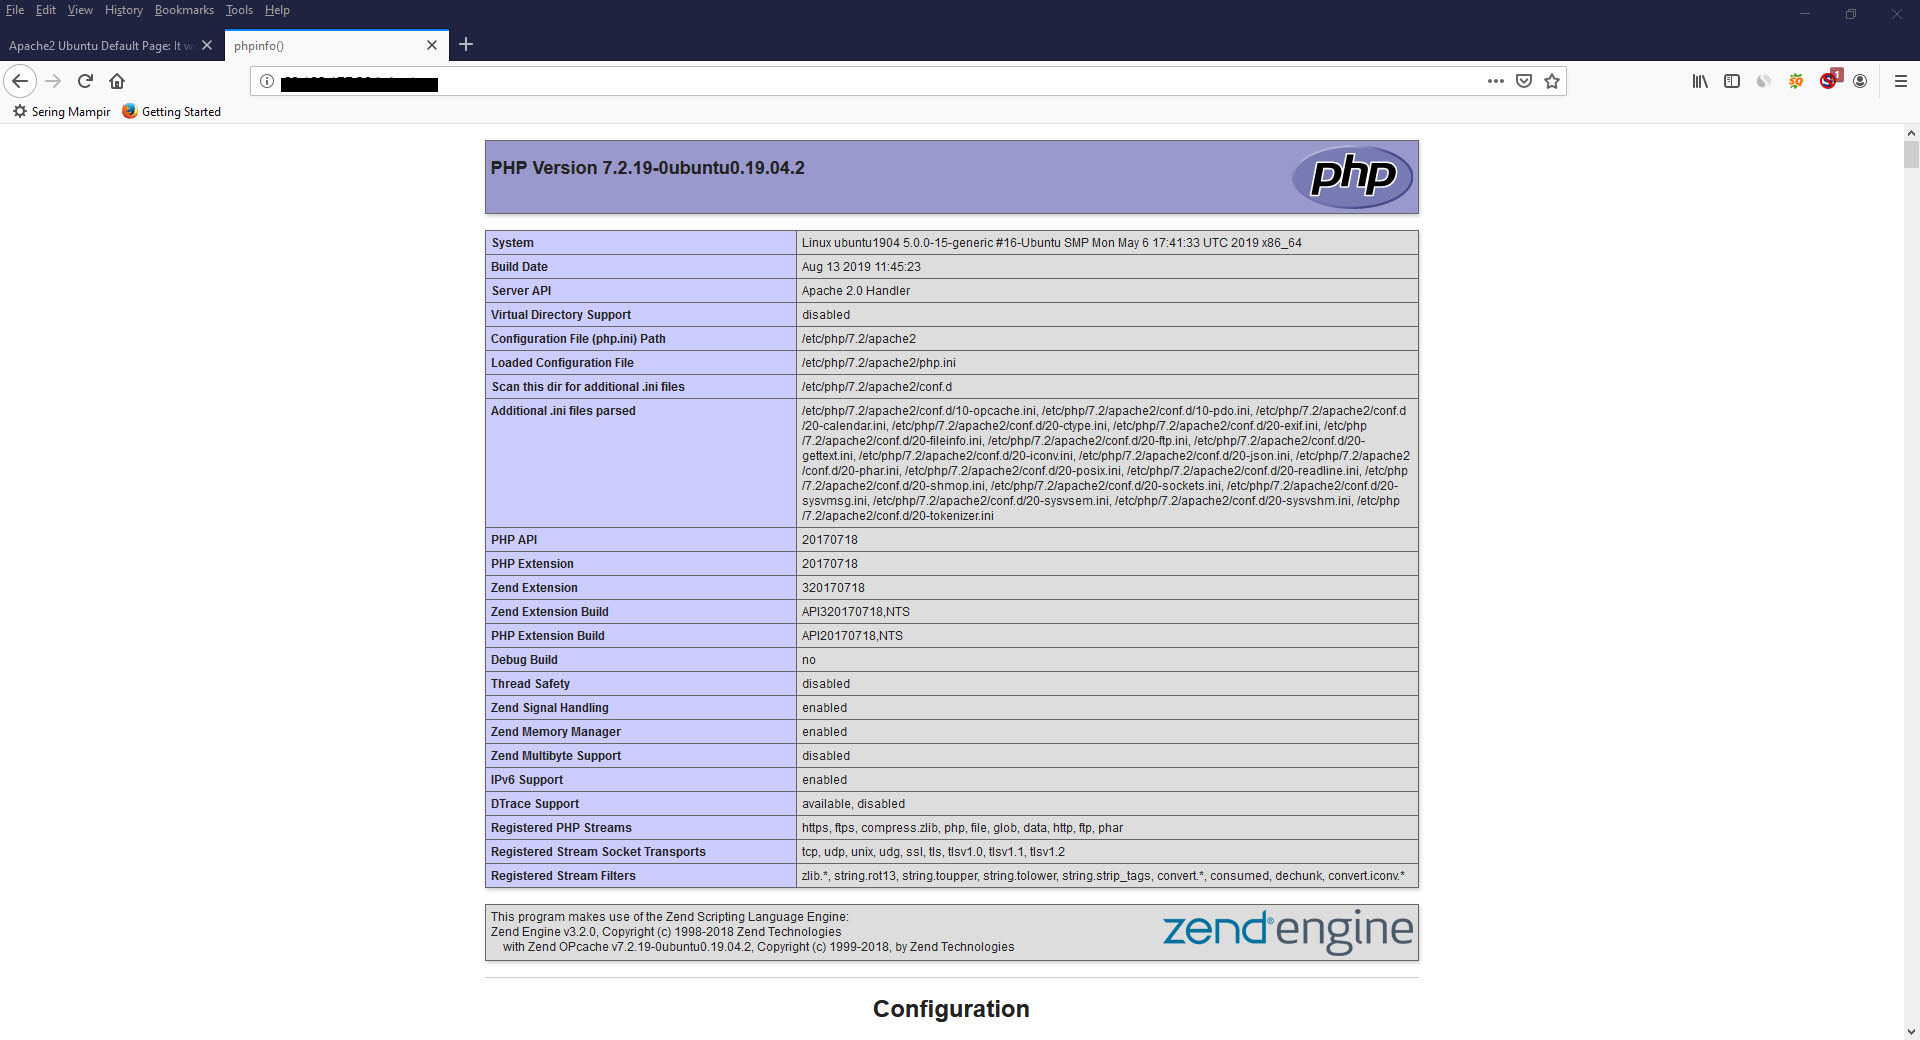
sudo apt install php8. Create php file named info.php and write the following lines.
<?php phpinfo() ?>9. Visit http://ip_address/info.php via a web browser.
10. Install mariadb server.
To do so, type following command lines and hit enter.
sudo apt install mariadb-server11. Secure the mariadb-server installation.
To do so, type following command lines and hit enter.
sudo mysql_secure_installationBelow is recommended mariadb database server installation's security options.
NOTE: RUNNING ALL PARTS OF THIS SCRIPT IS RECOMMENDED FOR ALL MariaDB
      SERVERS IN PRODUCTION USE!  PLEASE READ EACH STEP CAREFULLY!

In order to log into MariaDB to secure it, we'll need the current
password for the root user.  If you've just installed MariaDB, and
you haven't set the root password yet, the password will be blank,
so you should just press enter here.

Enter current password for root (enter for none):
OK, successfully used password, moving on...

Setting the root password ensures that nobody can log into the MariaDB
root user without the proper authorisation.

Set root password? [Y/n] y
New password:
Re-enter new password:
Password updated successfully!
Reloading privilege tables..
 ... Success!


By default, a MariaDB installation has an anonymous user, allowing anyone
to log into MariaDB without having to have a user account created for
them.  This is intended only for testing, and to make the installation
go a bit smoother.  You should remove them before moving into a
production environment.

Remove anonymous users? [Y/n] y
 ... Success!

Normally, root should only be allowed to connect from 'localhost'.  This
ensures that someone cannot guess at the root password from the network.

Disallow root login remotely? [Y/n] y
 ... Success!

By default, MariaDB comes with a database named 'test' that anyone can
access.  This is also intended only for testing, and should be removed
before moving into a production environment.

Remove test database and access to it? [Y/n] y
 - Dropping test database...
 ... Success!
 - Removing privileges on test database...
 ... Success!

Reloading the privilege tables will ensure that all changes made so far
will take effect immediately.

Reload privilege tables now? [Y/n] y
 ... Success!

Cleaning up...

All done!  If you've completed all of the above steps, your MariaDB
installation should now be secure.

Thanks for using MariaDB!
12. Login into database server.
To do so, type following command lines and hit enter.
mysql -uroot -p13. Create database.
To do so, type following command lines and hit enter.
a. create database wpdatabase;
b. CREATE USER 'wpuser'@'localhost' IDENTIFIED BY 'password1234';
a. GRANT ALL PRIVILEGES ON wpdatabase.* TO 'wpuser'@'localhost';
13. Download wordpress.
To do so, type following command lines and hit enter.
cd /var/www/html
wget http://wordpress.org/latest.tar.gz
14. Extract latest.tar.gz.
To do so, type following command lines and hit enter.
tar xzvf latest.tar.gz15. Make a copy of wp-config-sample.php and rename it to wp-config.php.
16. Open up a browser app and type http://ip_address, then hit enter.
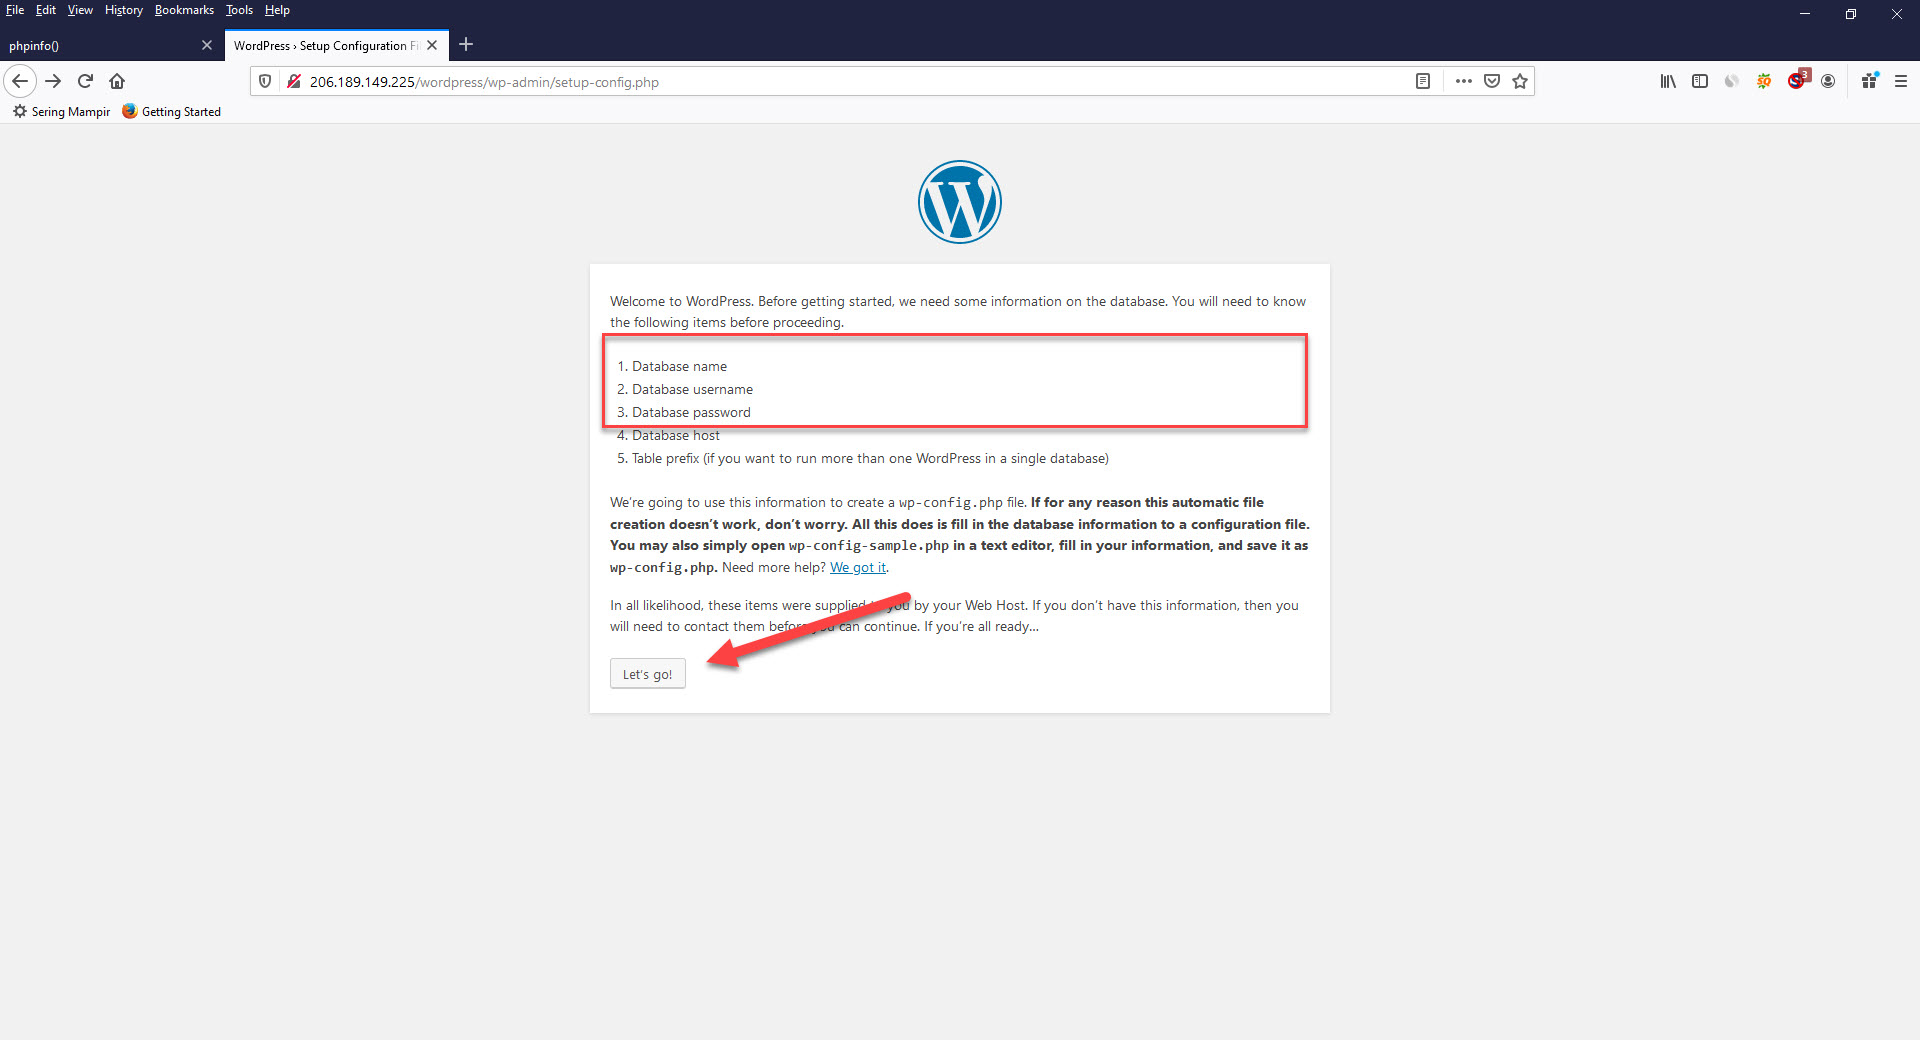
To start the installation, press "let's go" button.
17. Enter the database you have just created into the following page. Then hit "submit" button.

18. Fill out the following page about your blog:Site Title, username, password, and E-mail and click Install WordPress.

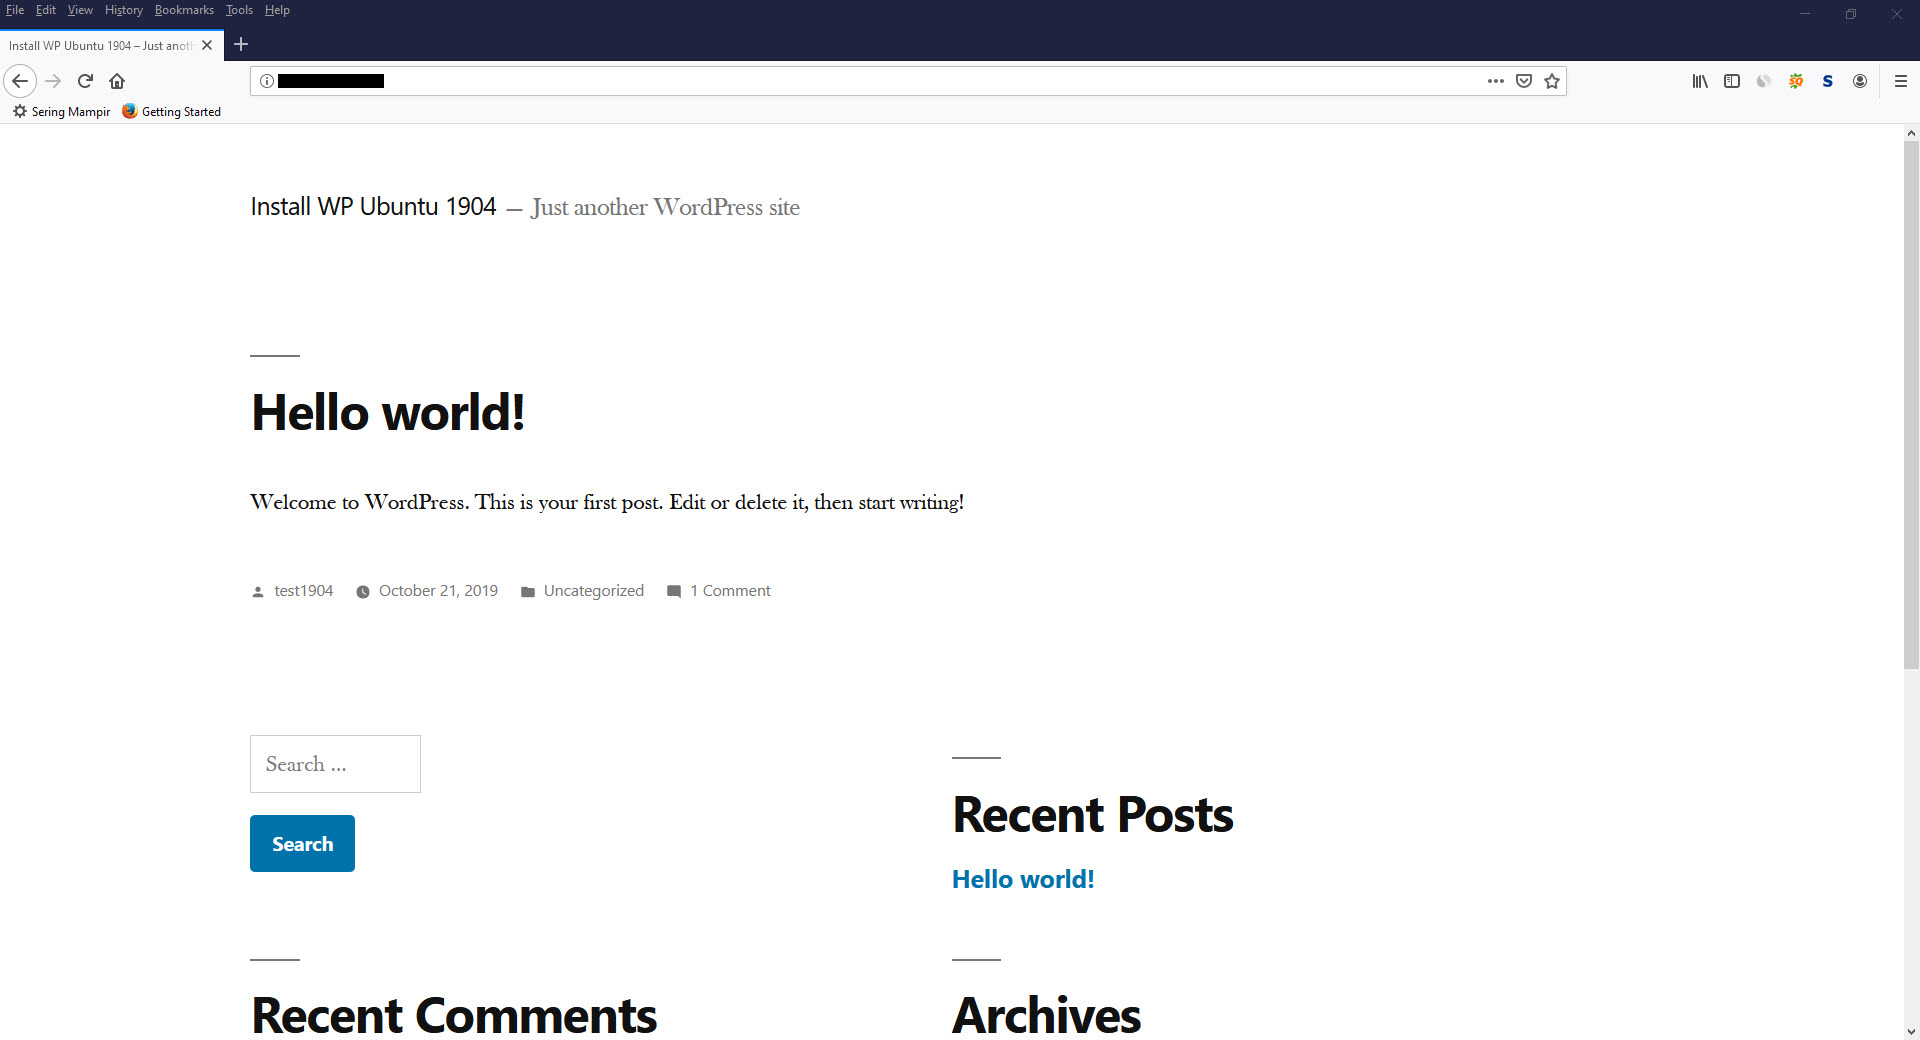
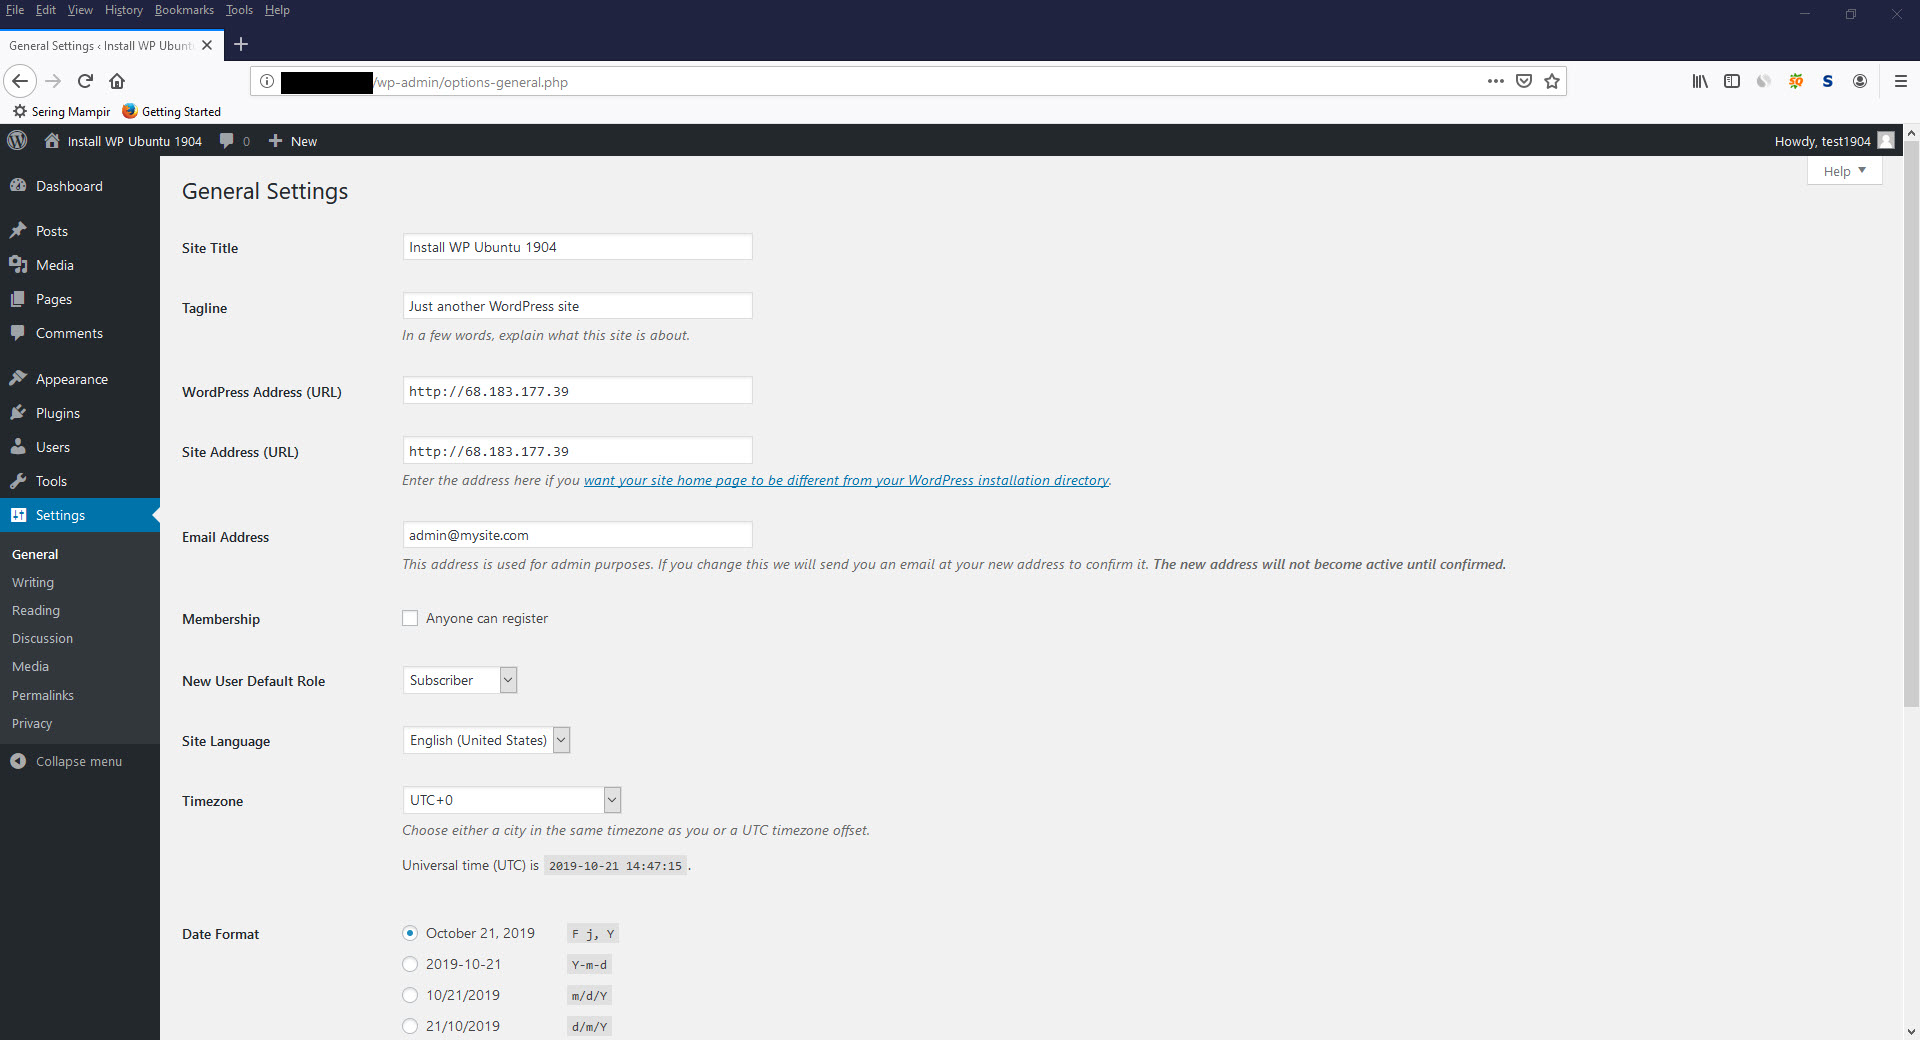
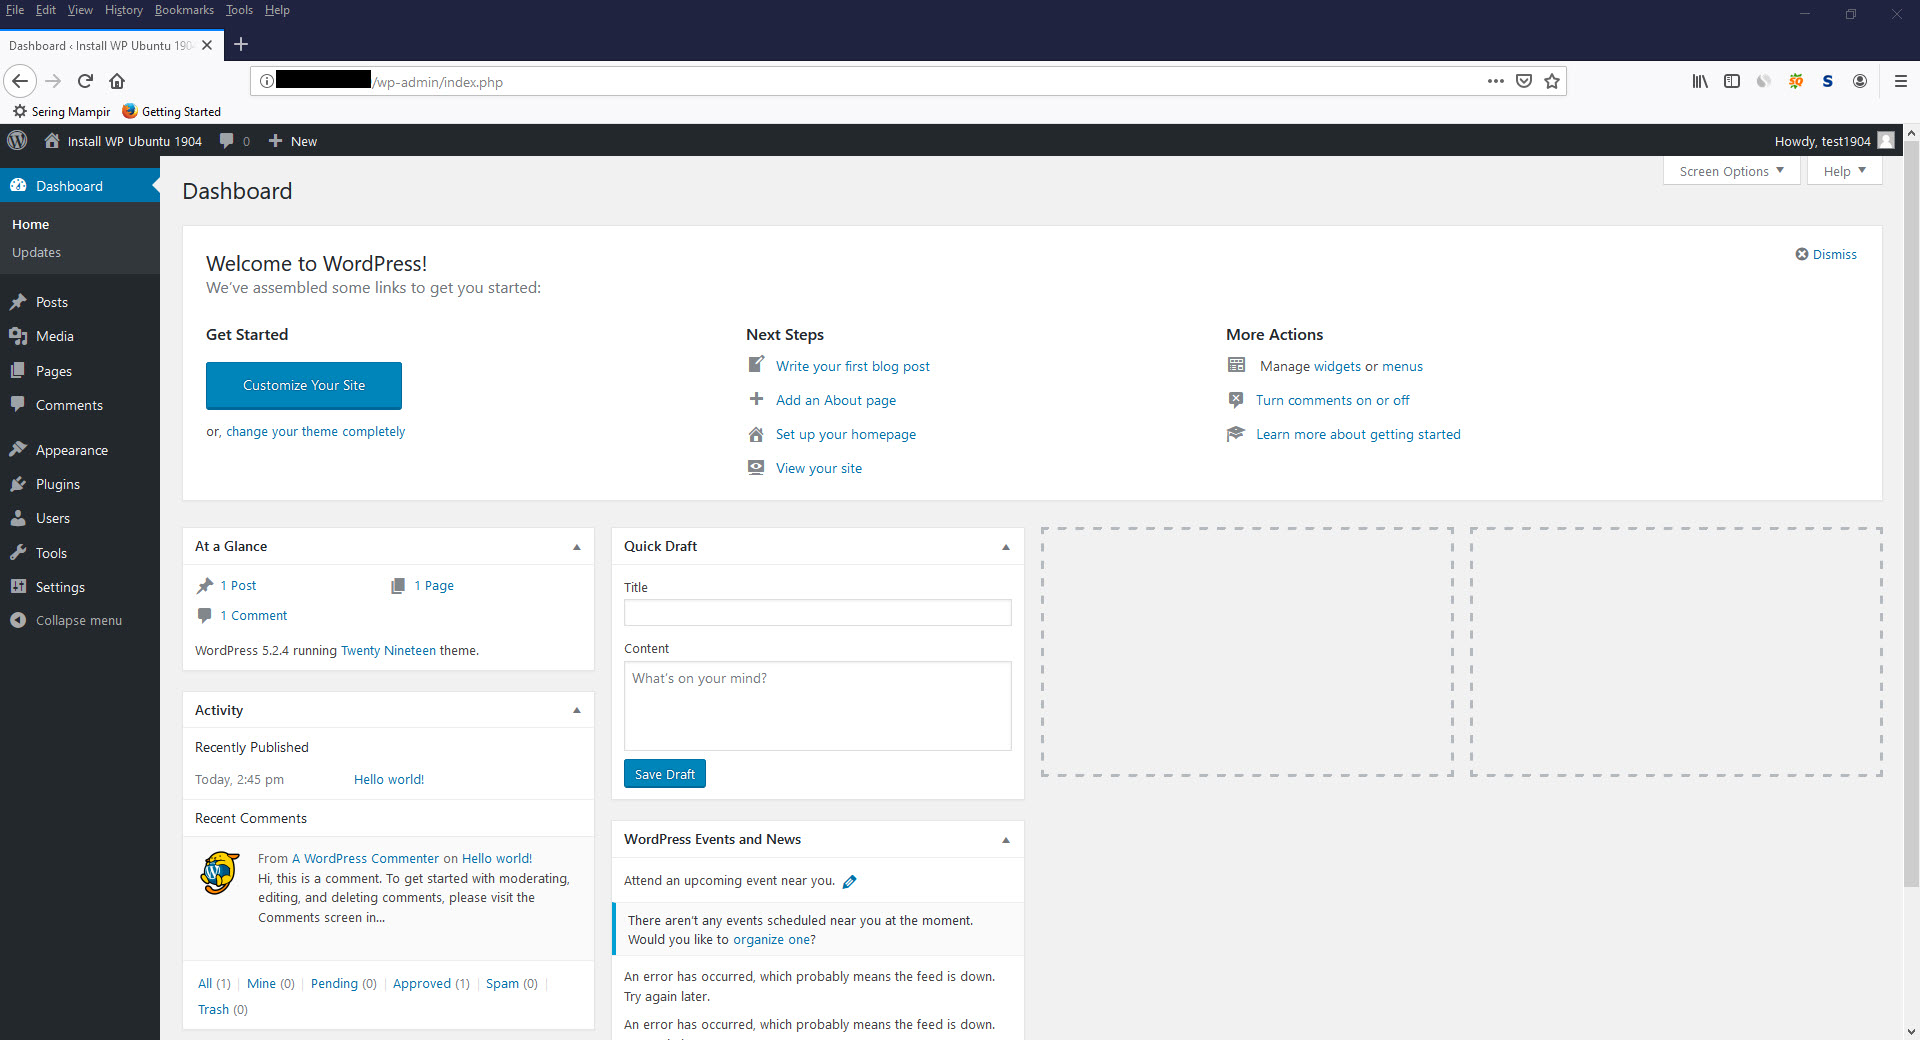
19. Now the installation of your beloved wordpress blog is complete. You may login to wordpress admin using username and password you have provided.
Tags :
