How To Install Wordpress With Sqlite Database On Ubuntu 19.04
In this blog post, I will cover how to install wordpress with sqlite database on ubuntu 19.04. If your site is new, it is not bad to have sqlite as the database of your wordpress blog. When the site is growing big, you can migrate to mysql database.
Sqlite database need little memory to work. If your vps is having little size of RAM, you can use the sqlite to store the data of your site.
Here's how to install wordpress with sqlite as the database server.
1. Open command line app such as windows cmd app, linux terminal app, mac terminal app and so on.
2. Login into your vps server hosting via command line app.
To do so, type following command lines and hit enter.
ssh vps-login-username@vps-ip-addressYou will be asked for vps login username password. If so, type the password and hit enter.
3. Install apache.
To do so, type following command lines and hit enter.
sudo apt install apache24. Start apache.
To do so, type following command lines and hit enter.
sudo systemctl start apache25. Restart apache.
To do so, type following command lines and hit enter.
sudo systemctl restart apache26. Check status of the apache.
To do so, type following command lines and hit enter.
sudo systemctl status apache27. Install php.
To do so, type following command lines and hit enter.
sudo apt install php php-sqlite38. Make sure that php can run on apache web server. To make sure that php can run on apache, create a file named info.php.
sudo nano /var/www/html/info.php9. Copy the following php script below into the info.php file.
<?php phpinfo() ?>
10. Type http://ip_address/info.php into your beloved browser's address bar, then hit enter.
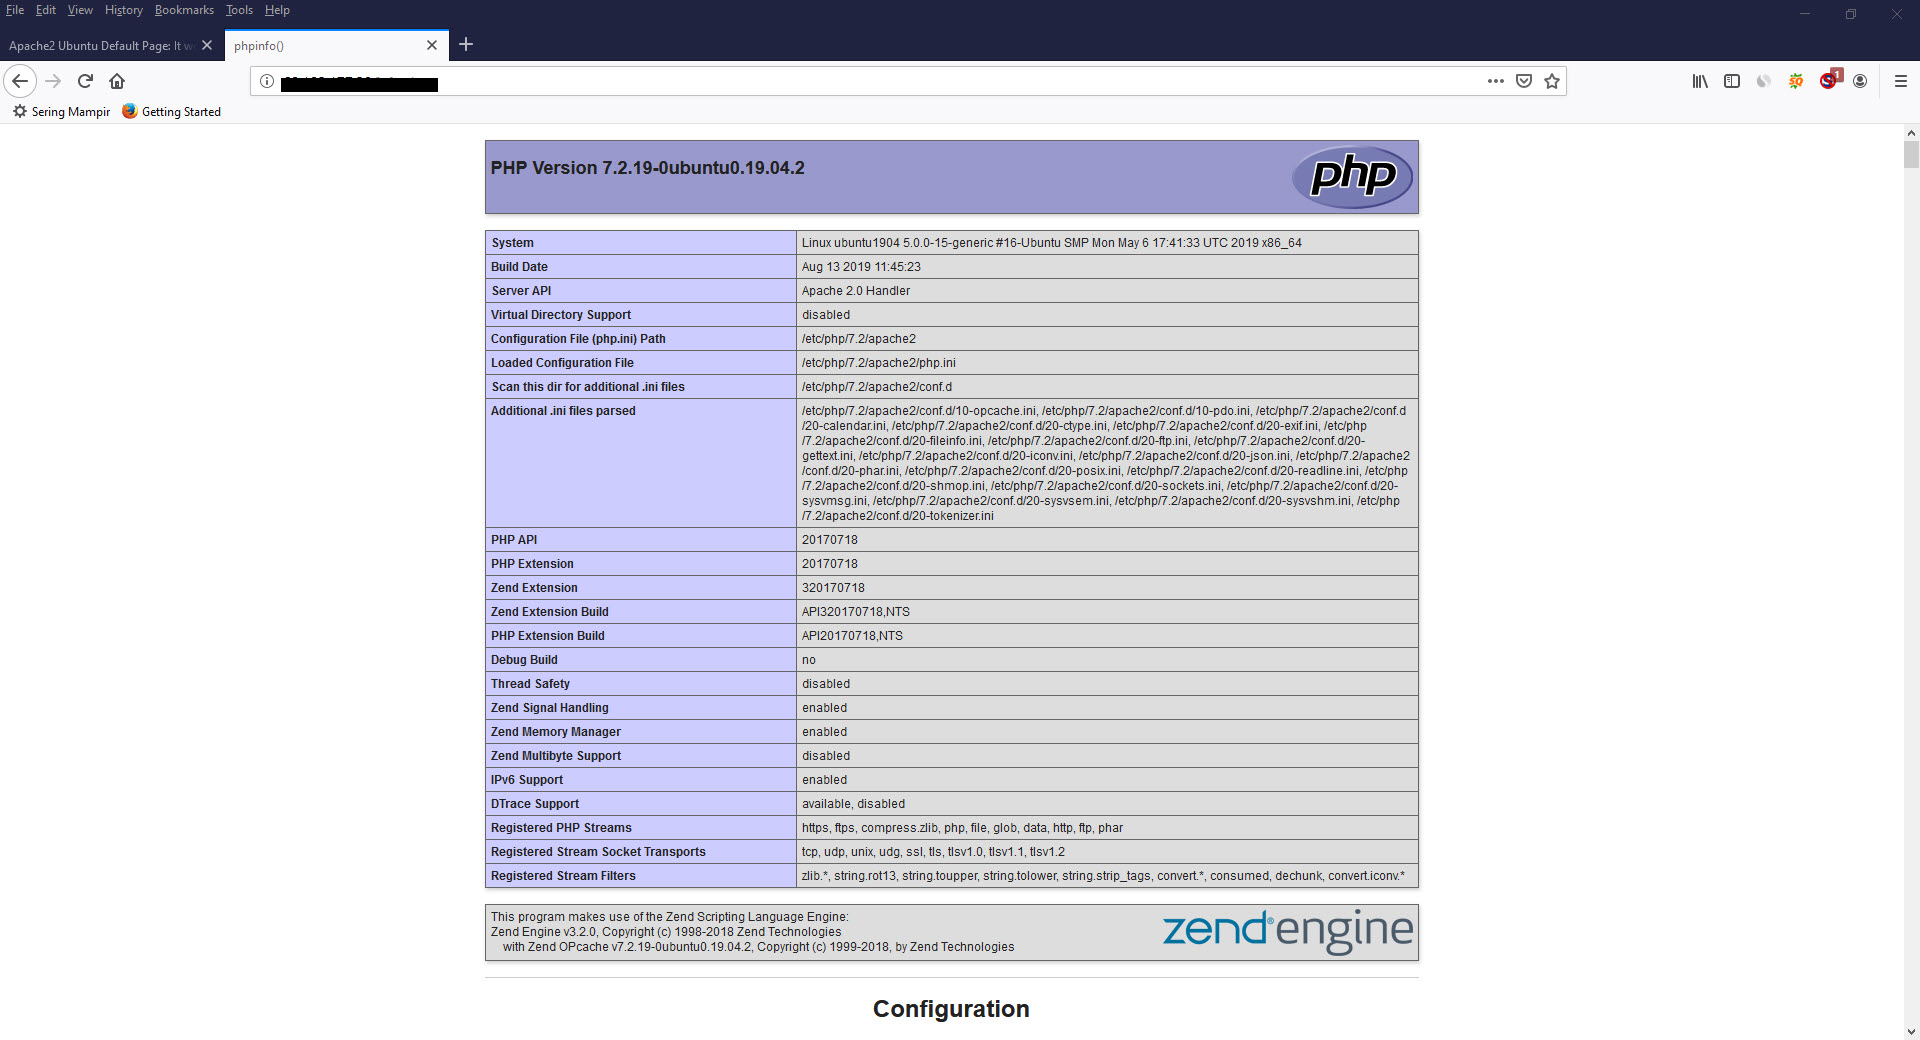
11. Install sqlite database server.
To do so, type following command lines and hit enter.
sudo apt install sqlite12. Install phpliteadmin.
To do so, type following command lines and hit enter.
sudo apt install phpliteadminPhpliteadmin is a php app that you can use to manage sqlite database.
Open up browser app and type http://ip_address/phpliteadmin/phpliteadmin.php, then press enter. You now can manage sqlite database using phpliteadmin. To login into phpliteadmin admin, enter the default user : admin and the default password: admin.
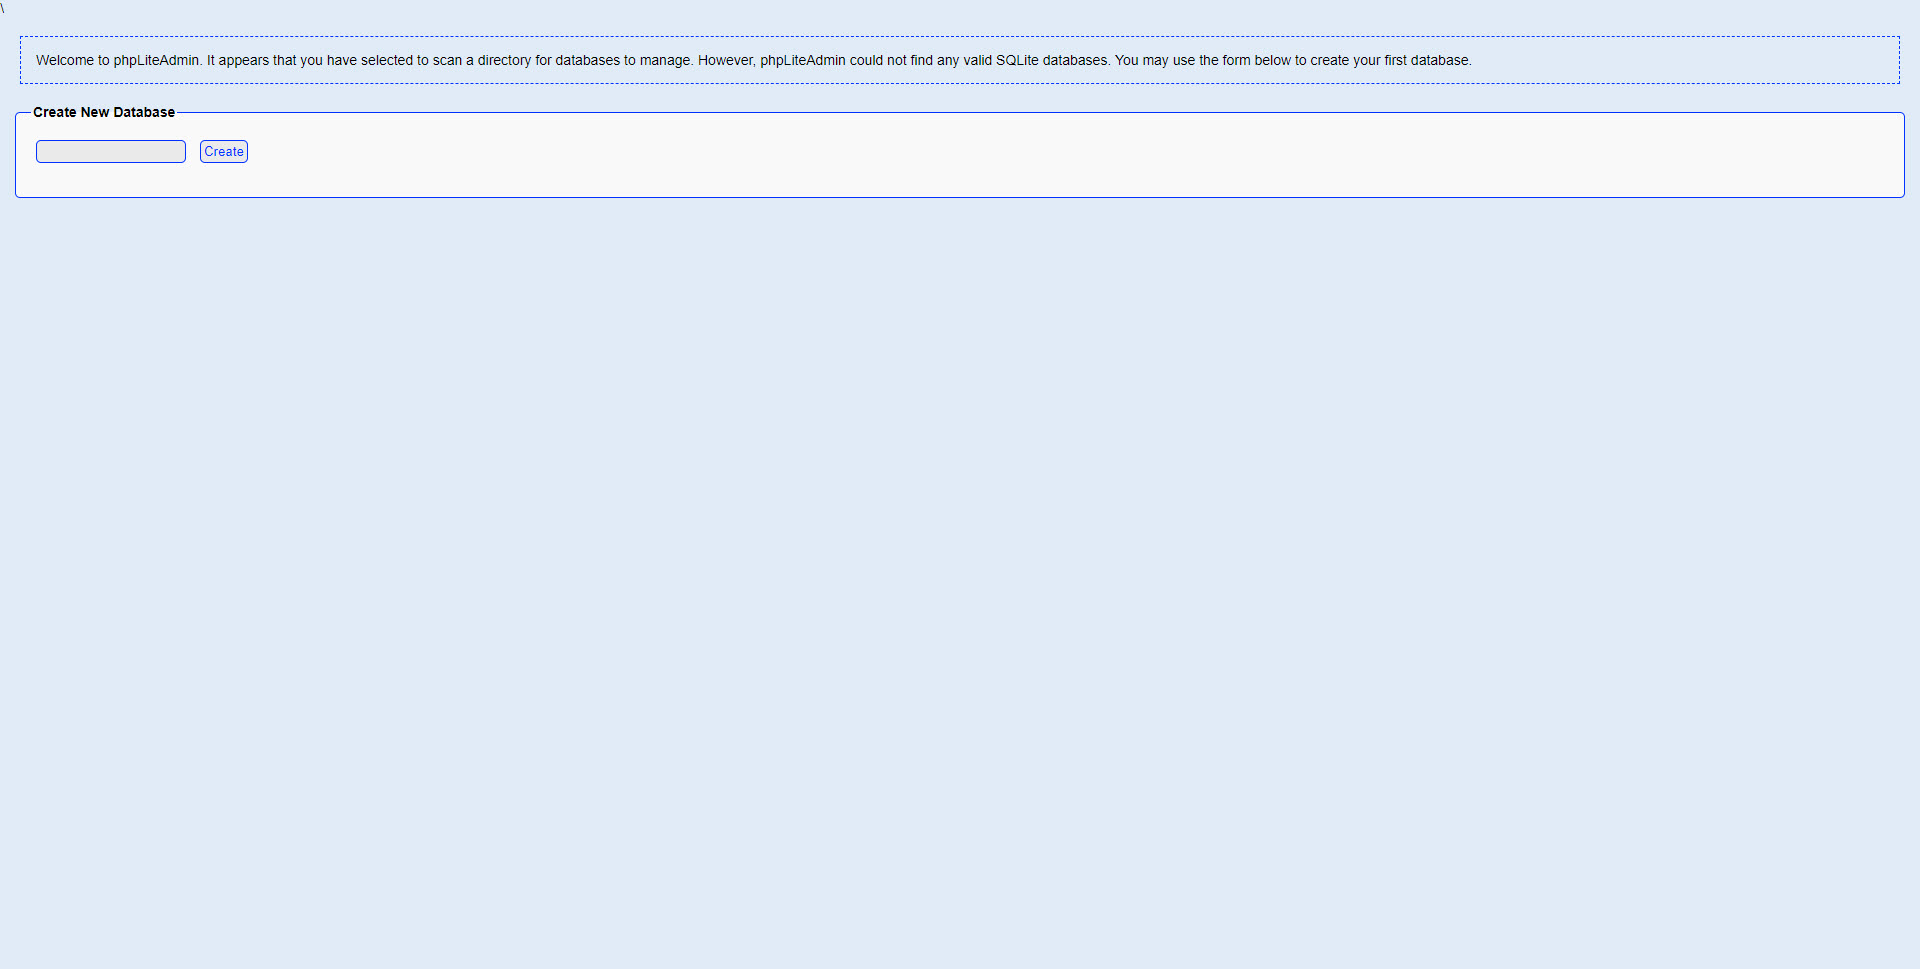
Now you can create database. For example for this tutorial, type a database named blogwp, then hit Create Button. Below is a database you have just created.
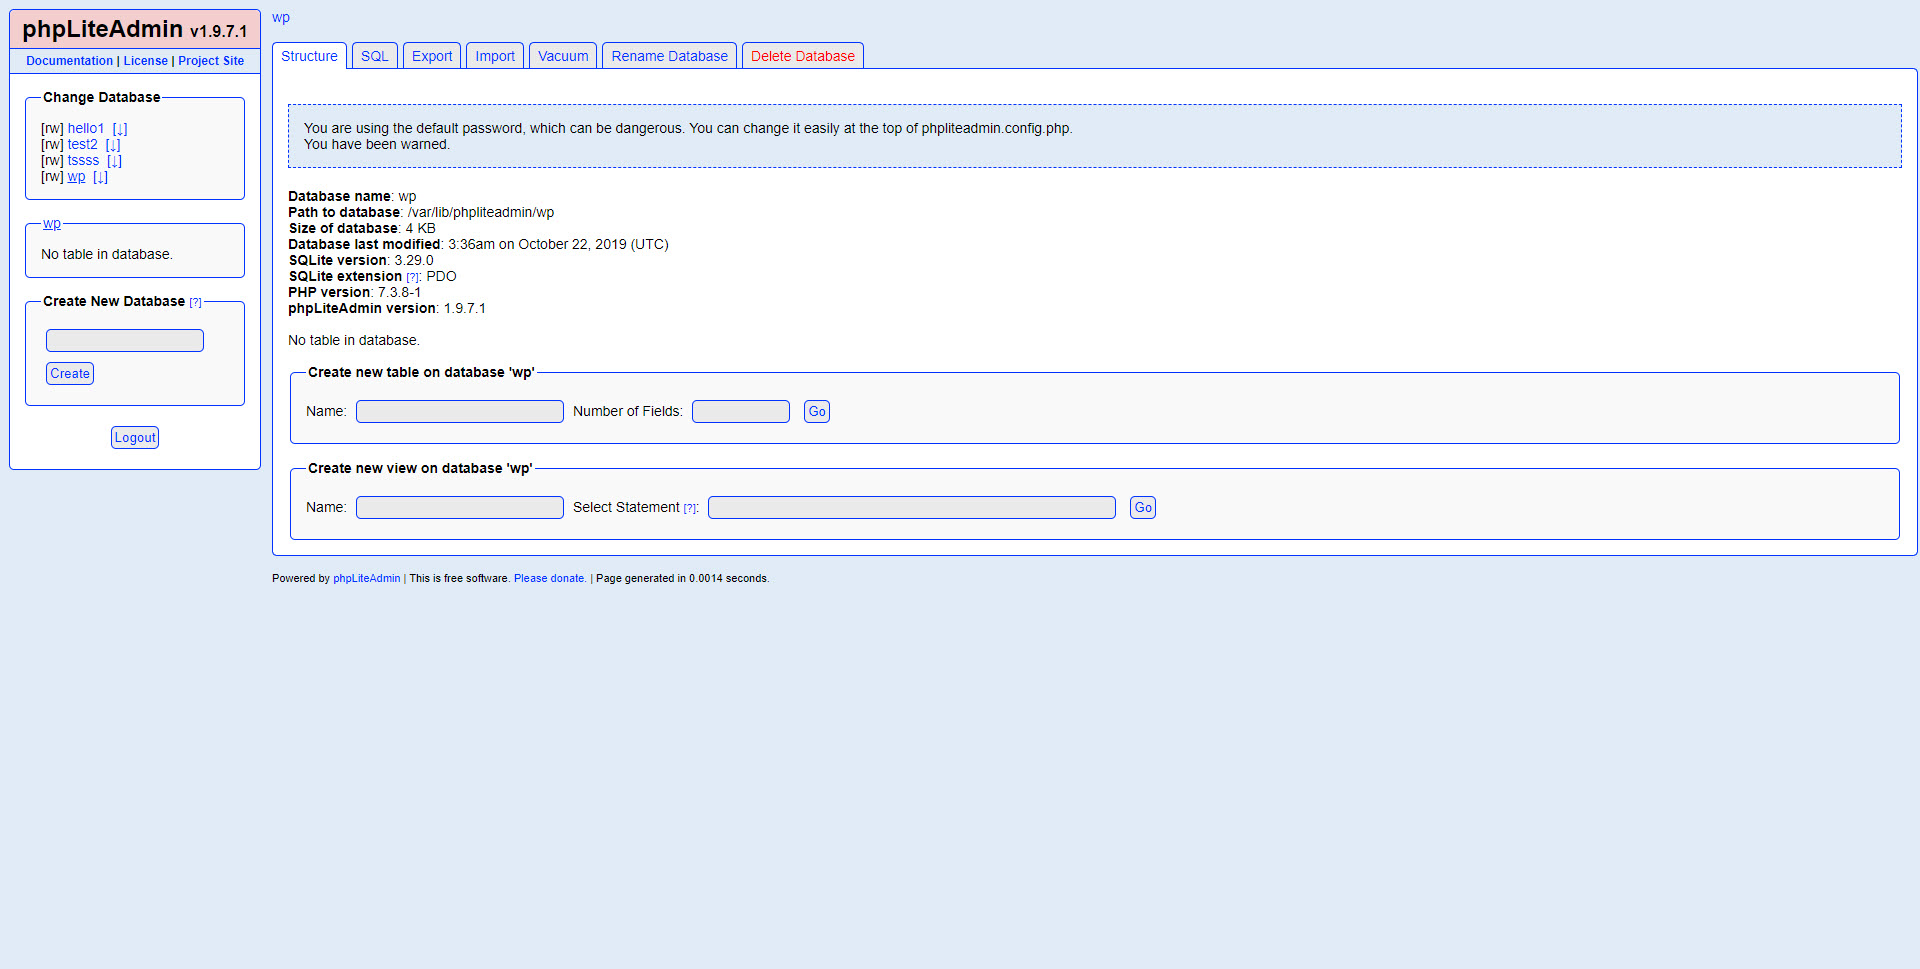
13. Download latest wordpress software.
To do so, type following command lines and hit enter.
cd /var/www/html
wget http://wordpress.org/latest.tar.gz
14. Extract latest.tar.gz.
To do so, type following command lines and hit enter.
tar xzvf latest.tar.gz15. Install sqlite-integration plugin.
Sqlite-integration plugin can help you to install wordpress with sqlite. To install the plugin, firstly download this plugin. To do so, type following command lines and hit enter.
wget https://downloads.wordpress.org/plugin/sqlite-integration.1.8.1.zipThen, copy sqlite-integration plugin to the plugin folder of wordpress blog. To do so, type following command lines and hit enter.
mv sqlite-integration wp-content/plugins/16. Move the db.php to the wp-content folder.
To do so, type following command lines and hit enter.
mv wp-content/plugins/sqlite-integration/db.php wp-content/When sqlite-integration plugin is configured, then setup the wp-config.php. Make a copy of wp-config-sample.php and rename it to wp-config.php.
17. Replace the following lines.
define( 'DB_NAME', 'database_name_here' );
define( 'DB_USER', 'username_here' );
define( 'DB_PASSWORD', 'password_here' );
With the following lines.
define('DB_FILE', 'blogwp');
define('DB_DIR', '/var/lib/phpliteadmin/');
Blogwp is sqlite database and /var/lib/phpliteadmin/ is the folder where the database is stored.
18. Type http://ip_address into your beloved browser's address bar, then hit enter to begin the installation procedure of wordpress blog.
Now you can see the welcome page to begin installing wordpress blog on your server.
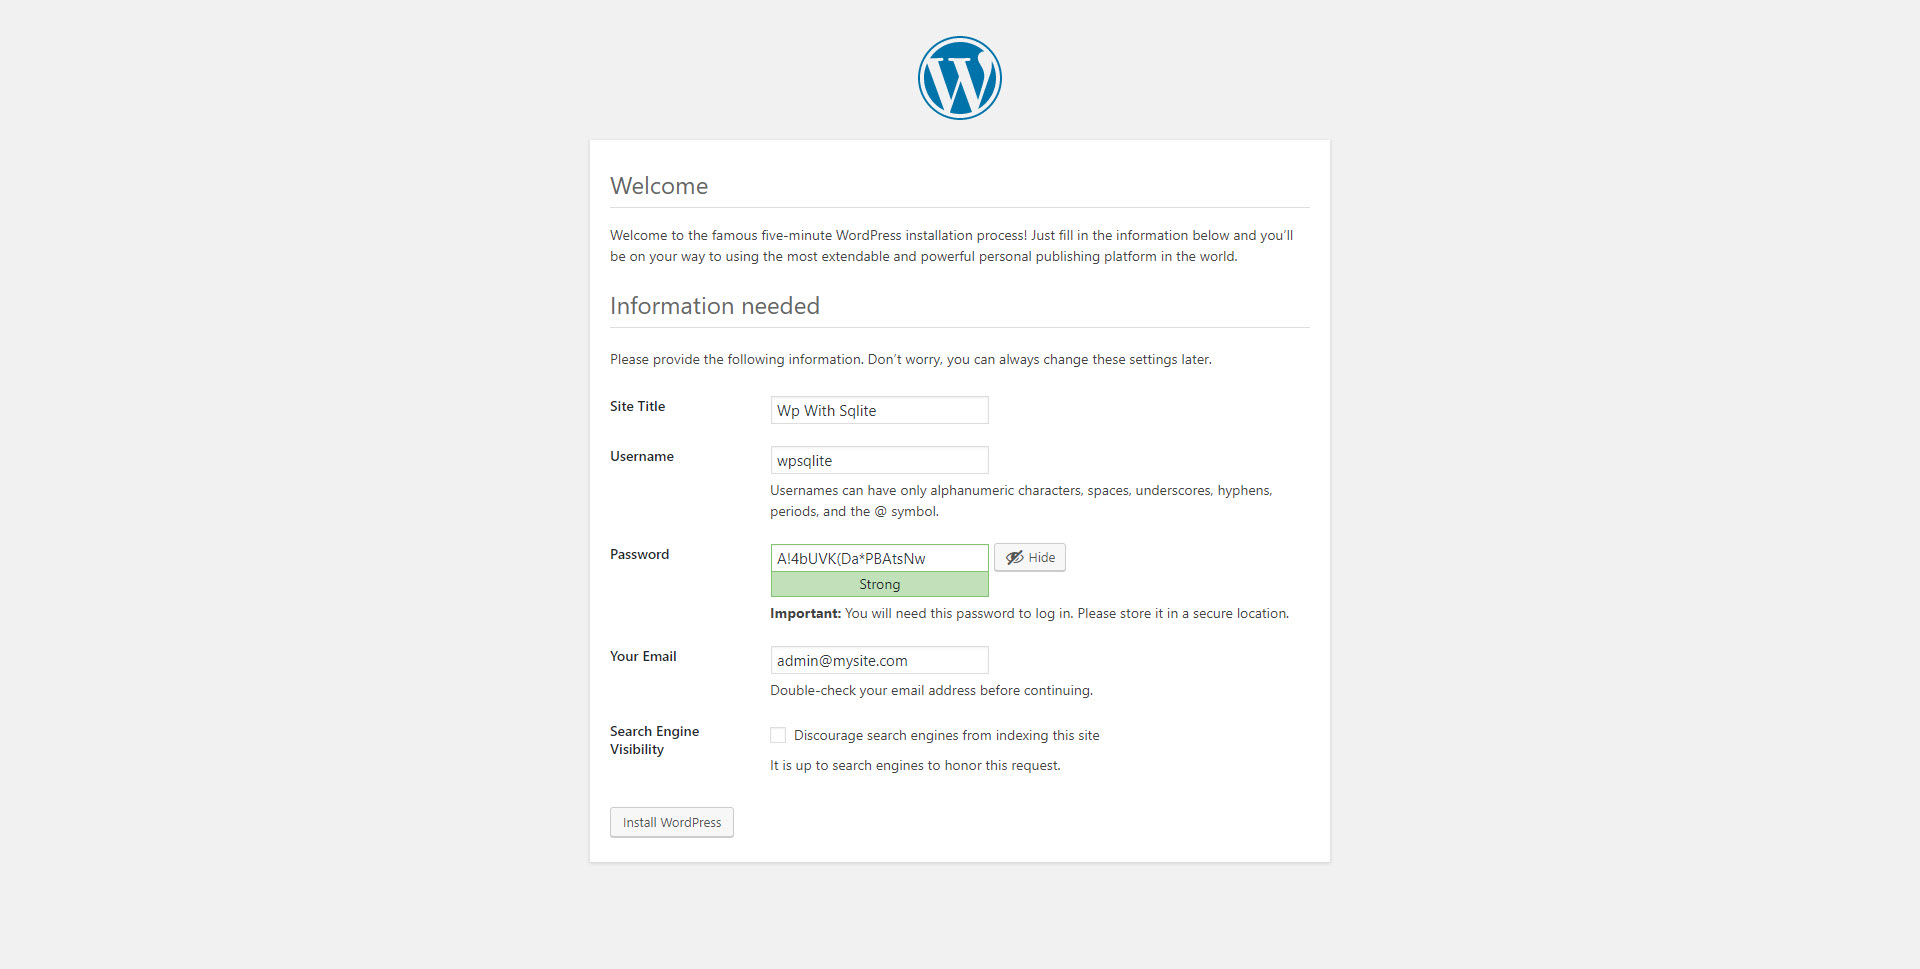
19. Provide the information about your blog: Site Title, Username, Password and Your Valid Email. Then hit "install wordpress".
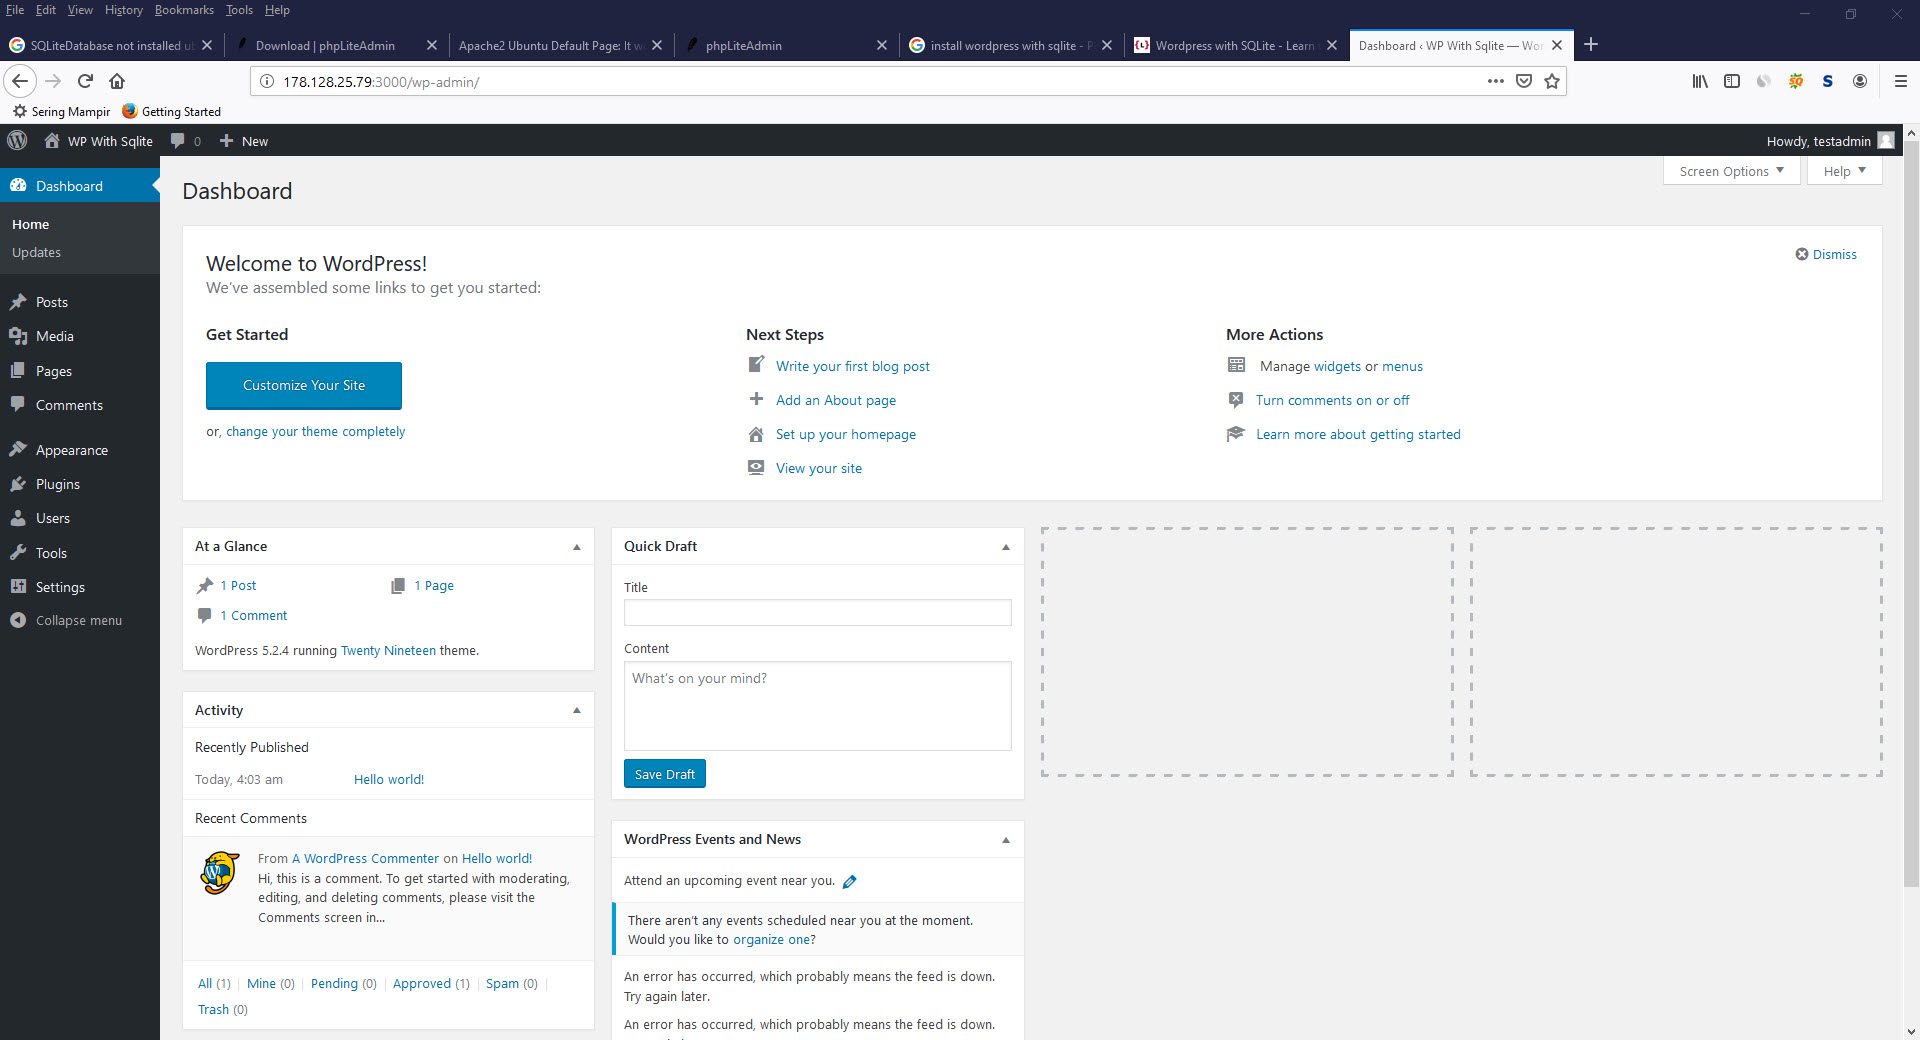
m. If the installation is succed, you can login to wordpress admin with the username and password you have provided.
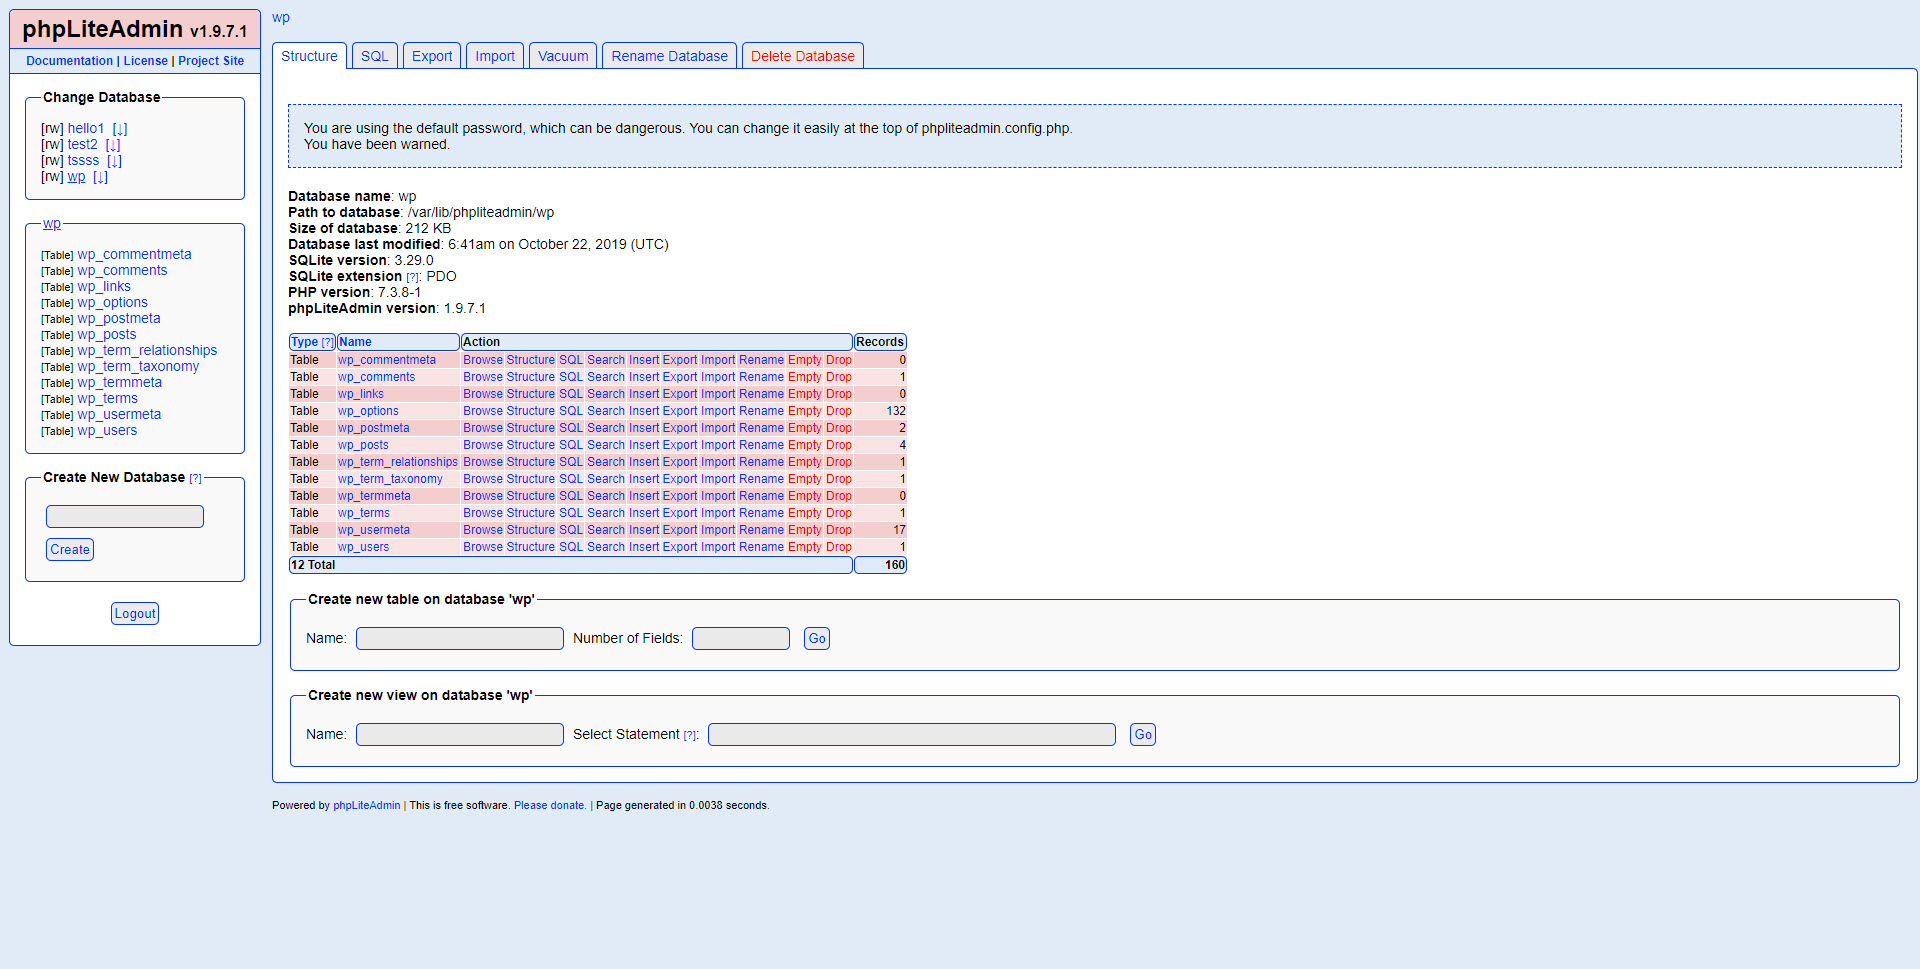
20. Now, you can find the new tables has been created to store the data of your wordpress blog via phpliteadmin.
Tags :
