How To Install Wordpress With Nginx On Centos 7
In this blog post, I will cover how to install wordpress on Centos 7 with LEMP which stands for Linux, Nginx (engine x) and php. It is needed to configure appropriately to make the most power of them.
Below is step by step how to install wordpress on Centos 7 with LEMP.
1. Open command line app such as windows cmd app, linux terminal app, mac terminal app and so on.
2. Login into your vps server hosting via command line app.
To do so, type following command lines and hit enter.
ssh vps-login-username@vps-ip-addressYou will be asked for vps login username password. If so, type the password and hit enter.
3. Download Nginx signing key.
sudo wget http://nginx.org/keys/nginx_signing.key4. Install Nginx signing key.
sudo rpm --import nginx_signing.key5. Add nginx repo. There is two version of Nginx, stable and mainline. I use mainline.
sudo nano /etc/yum.repos.d/nginx.repo 6. Copy and paste below into nginx.repo.
[nginx]
name=nginx repo
baseurl= http://nginx.org/packages/mainline/centos/7.4/$basearch/
gpgcheck=1
enabled=1
7. Install nginx.
To do so, type following command lines and hit enter, one by one.
sudo yum install update
sudo yum install upgrade
sudo yum install nginx
8. Check nginx version by run this command.
To do so, type following command lines and hit enter.
nginx -v9. Start nginx.
To do so, type following command lines and hit enter.
sudo systemctl start nginx10. Restart nginx.
To do so, type following command lines and hit enter.
sudo systemctl restart nginx11. Stop nginx.
To do so, type following command lines and hit enter.
sudo systemctl stop nginx12. Enable nginx.
To do so, type following command lines and hit enter.
sudo systemctl enable nginx13. Create mariadb repo.
To do so, type following command lines and hit enter.
sudo nano /etc/yum.repos.d/mariadb.repo14. Copy and paste below into mariadb.repo.
[mariadb]
name = MariaDB
baseurl = http://yum.mariadb.org/10.2/centos7-amd64
gpgkey= https://yum.mariadb.org/RPM-GPG-KEY-MariaDB
gpgcheck=1
15. Install mariadb.
sudo yum install MariaDB-server MariaDB-client16. Securing MariaDB server.
To secure MariaDB installation, then run the following command lines in terminal.
sudo mysql_secure_installation17. For resetting the password options, choose "n" , to use the password used in first-time setup database. Then several options will appear, choose "y" is the best answer.
18. Add remis rpm repository.
To do so, type following command lines and hit enter, one by one.
wget https://dl.fedoraproject.org/pub/epel/epel-release-latest-7.noarch.rpm

wget http://rpms.remirepo.net/enterprise/remi-release-7.rpm

sudo rpm -Uvh remi-release-7.rpm epel-release-latest-7.noarch.rpm
19. Enable and activate php 7.3.
To do so, type following command lines and hit enter, one by one.
sudo yum install yum-utils

sudo yum-config-manager --enable remi-php73
20. Install php 7.3.
To do so, type following command lines and hit enter, one by one.
sudo yum install php73-php-fpm
sudo systemctl start php73-php-fpm
sudo systemctl enable php73-php-fpm
21. Check php version.
To do so, type following command lines and hit enter.
php -v22. Edit the nginx configuration file, so that PHP can run on Nginx.
To do so, type following command lines and hit enter.
nano /etc/nginx/nginx.confAdd this code below into the http block.
upstream php {

        server 127.0.0.1:9000;
}
Another nginx setup, add this code below into the server block.
location ~ \.php$ {
                #NOTE: You should have "cgi.fix_pathinfo = 0;" in php.ini
                include fastcgi.conf;
                fastcgi_intercept_errors on;
                fastcgi_pass php;
        }
23. Replace default root location with /var/www/html.
24. Delete error page configuration.
25. Create php file info.php and put it in the root folder of the web to check php configuration.
To do so, type following command lines and hit enter.
sudo nano /var/www/html/info.php26. Copy and paste the following lines inside of info.php.
<?php
phpinfo();
phpinfo(INFO_MODULES);
?>
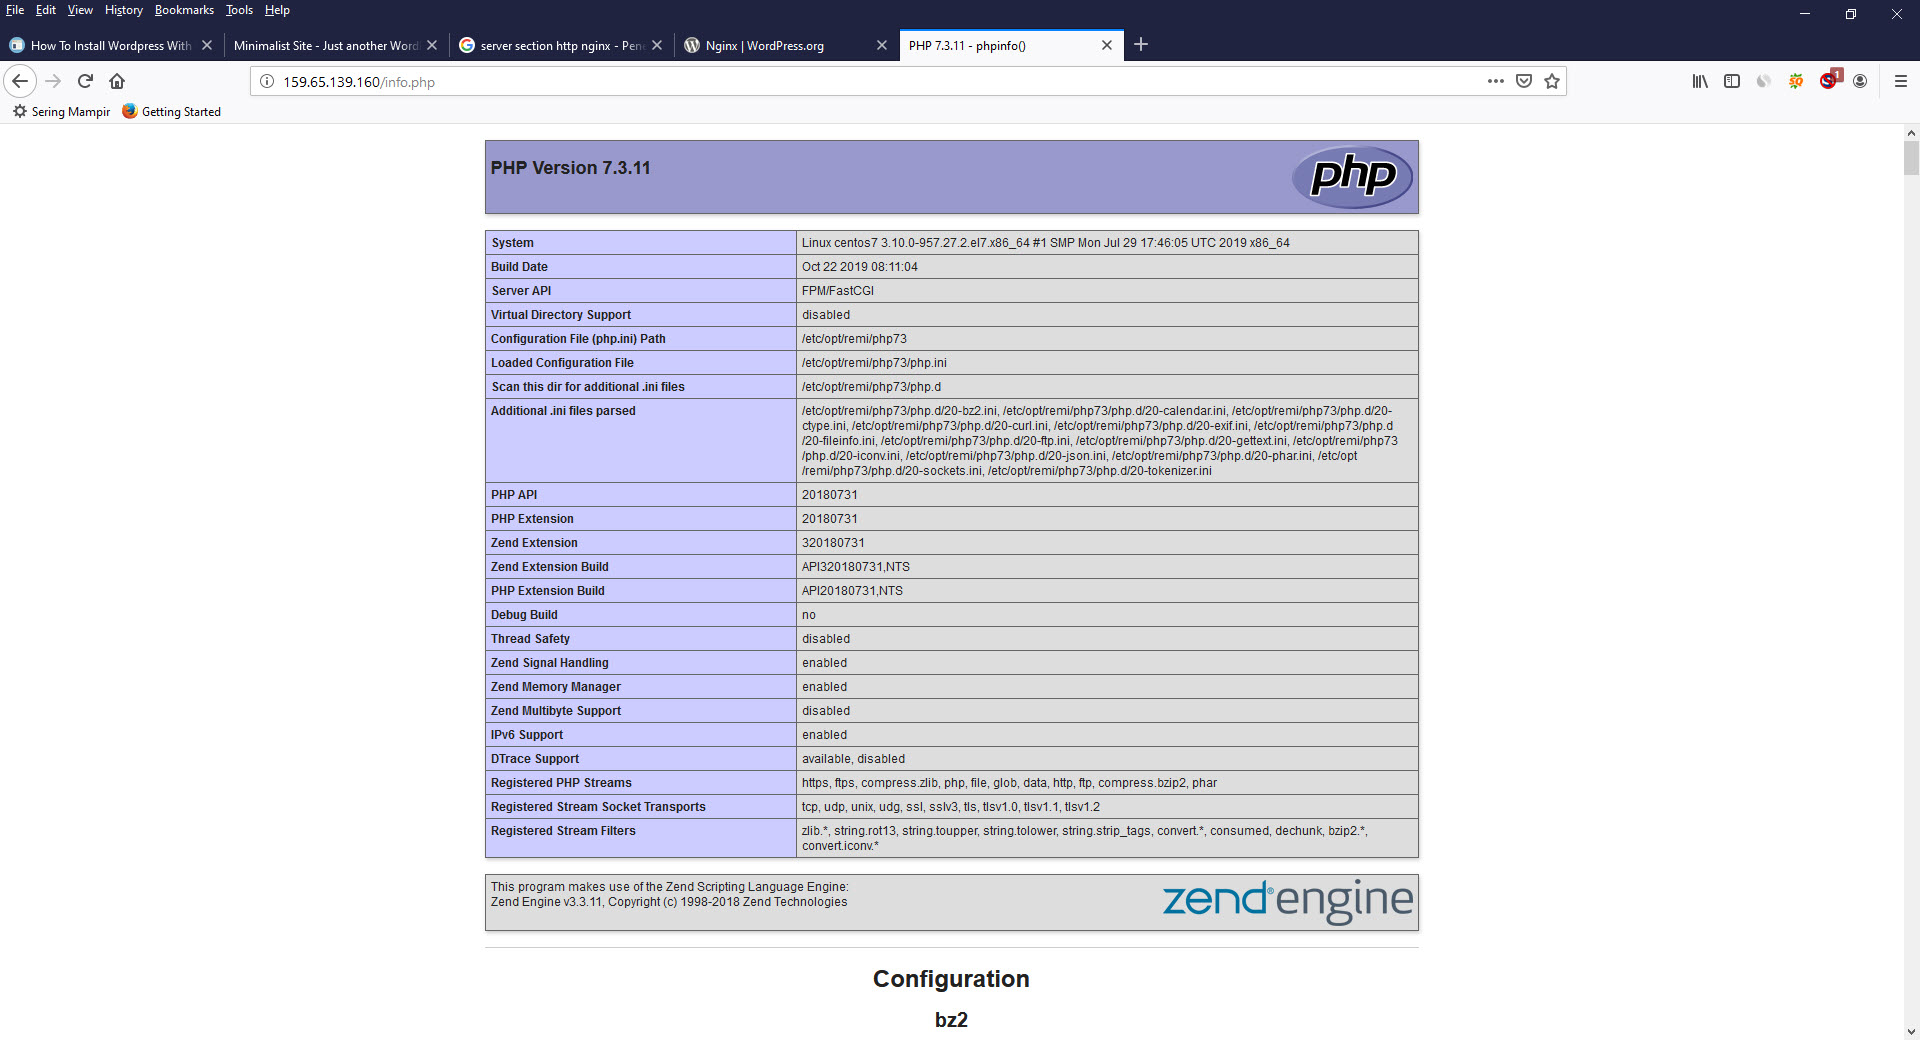
27. Navigate to my_ip_address/info.php. If all goes well, it will give useful information about PHP modules that have been installed, predefined variables system on given system and short info of configuration of the database.
For the security reason, do a change to your php.ini so that you have the code below inside of it.
"cgi.fix_pathinfo = 0;"
28. Download the latest version of Wordpress.
wget -c http://wordpress.org/latest.tar.gz29. In order to extract the tar.gz file, use tar.
tar xzvf latest.tar.gz30. Copy the files from the newly extracted wordpress directory to the nginx root directory. The -R tells the command to recursively copy all the directories.
sudo cp -R wordpress/* /var/www/html/31. Run the CHOWN command below to ensure that nginx owns all the files in the nginx root directory. The -R again denotes to recursively apply the change to directories.
user01@srv01:~$ sudo chown -R nginx:nginx /var/www/html/32. The command chmod is short for "change mode," and you use it to change the permissions on files and directories.
sudo chmod -R 755 /var/www/html/33. Connect to the mysql client using the root password we set earlier. This is the same mysql client that was installed earlier as part of the mysql-client package.
sudo mysql -u root -p34. Create the mySQL database to house your Wordpress installation.
mysql> CREATE DATABASE your_blog_name;35. Next, create a database user which Wordpress will use to access the database. Best practice dictates that you create a dedicated user for each application.
mysql> CREATE USER wp_dbuser IDENTIFIED BY 's5cUr3_p455w0rd';36. Now, with the database user created, grant it all privileges on your Wordpress database.
mysql> GRANT ALL PRIVILEGES ON your_blog_name.* TO 'wp_dbuser'@'localhost';37. Use the FLUSH PRIVILEGES command to force the privileges to take effect now.
mysql> FLUSH PRIVILEGES;38. Type exit to leave the mysql client.
mysql> exit;39. If you went to http://your_server_address right now, you would likely continue to see the same Nginx Default Page. This is because the default Nginx config, when looking for the default page, chooses *.html before *.php, and so displays the index.html provided by Nginx before the index.php provided by Wordpress. You could delete the index.html, but we will simply rename it to index.orig.html.
sudo mv /var/www/html/ /var/www/html/index.orig.html40. Make a copy of wp-config-sample.php and rename it to wp-config.php.
41. Now we are ready to begin the actual Wordpress installation. Put the database you have just created in wp-config.php.
define( 'DB_NAME', 'bmw' );
define( 'DB_USER', 'gomersi' );
define( 'DB_PASSWORD', 'Gjtk8392' );
42. When wordpress can communicate with your database, using the information you provided, you will see a page like this.
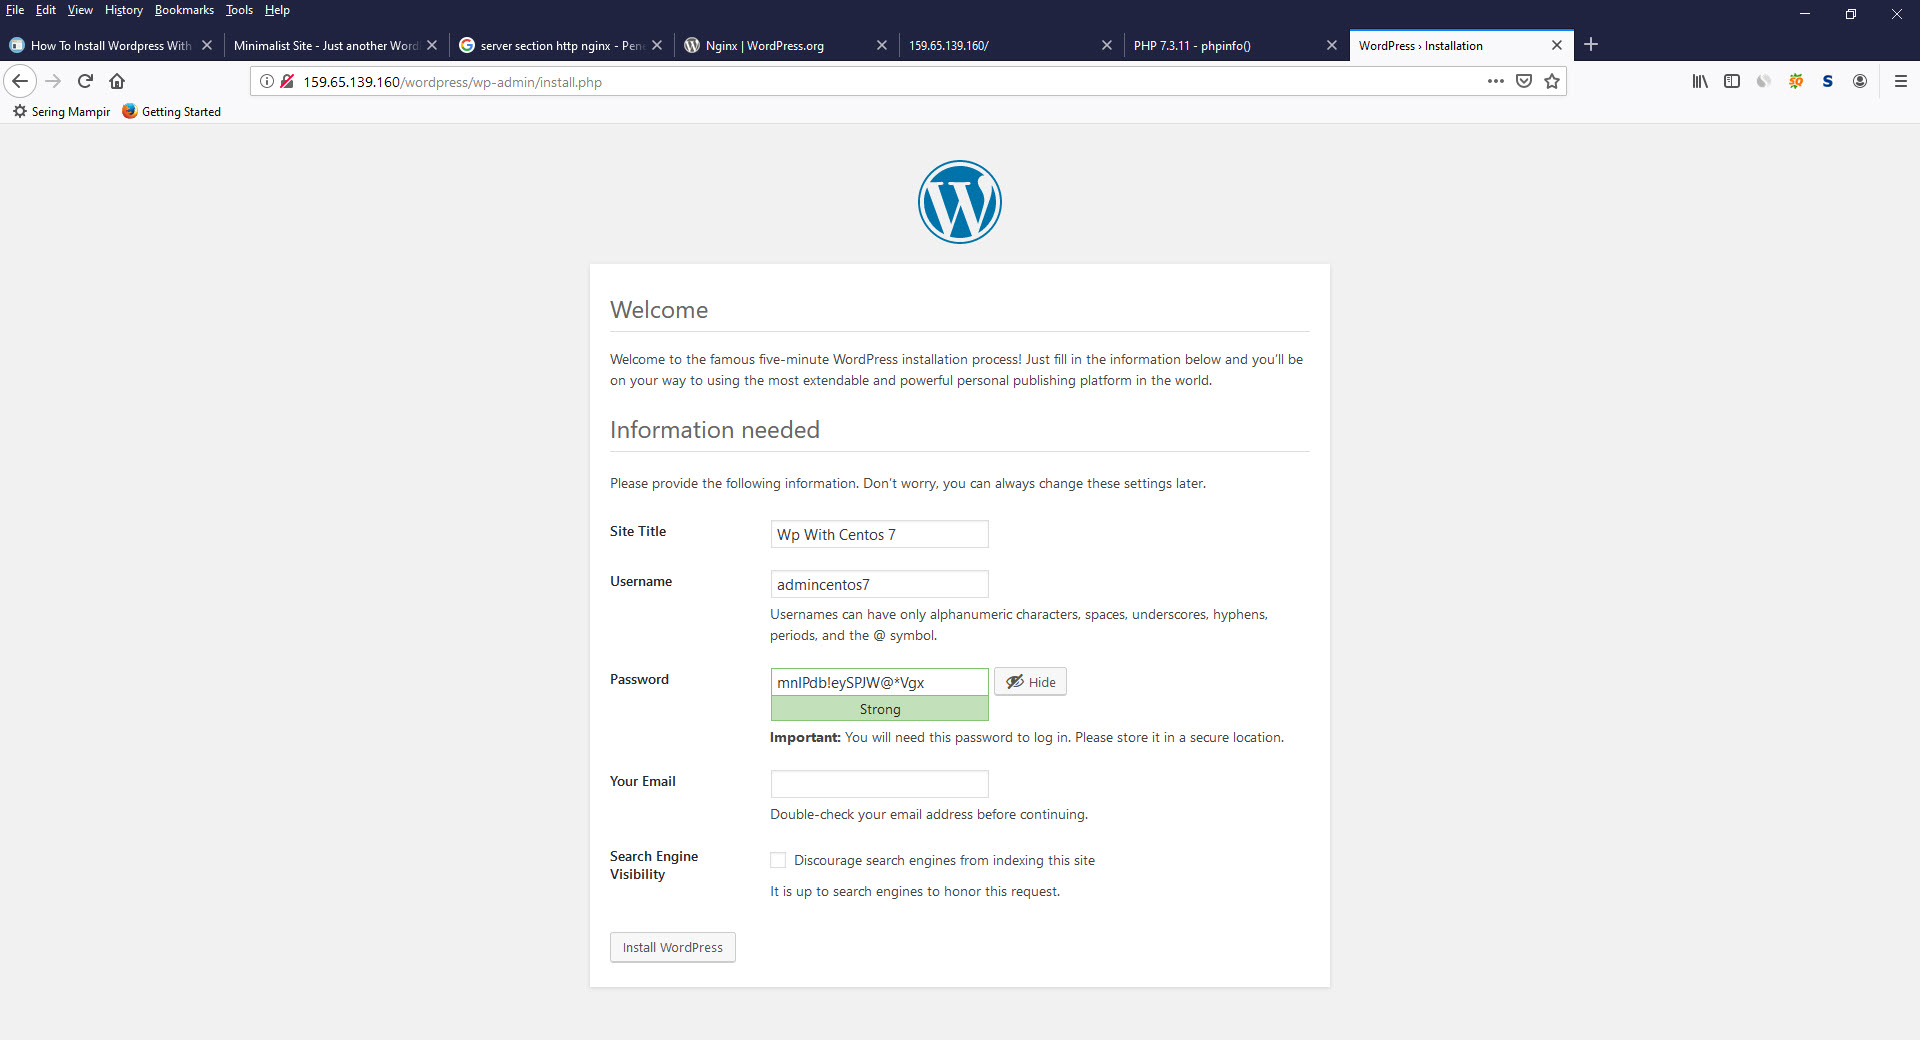
43. Provide the information about your blog: the blog name, username, password, email address and whether you want search engines to index your site. Fill out the information and click "Install Wordpress."
44. When everything goes as planned, you will see the page below. Click "Log in" to log in, using the password you created on the previous step.
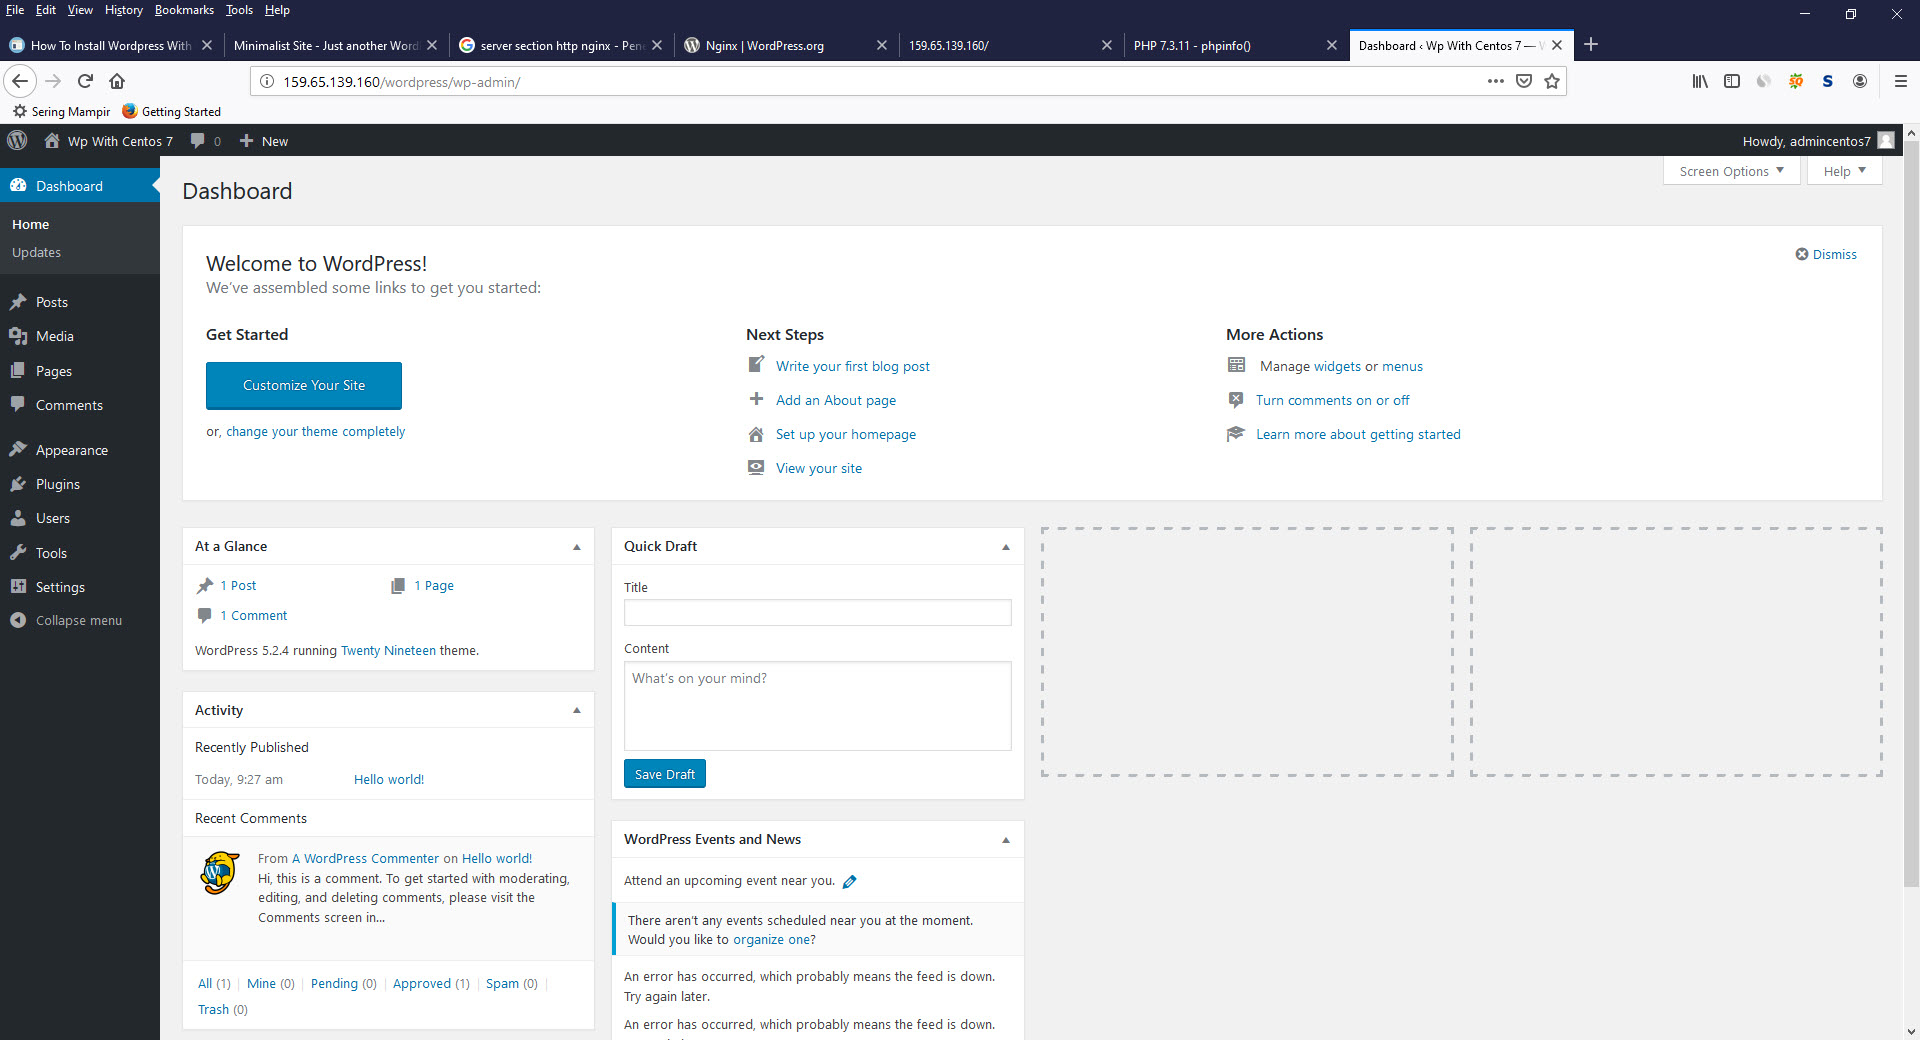
45. This takes you into the Wordpress Dashboard, which is where all your administrative functions are done in Wordpress.
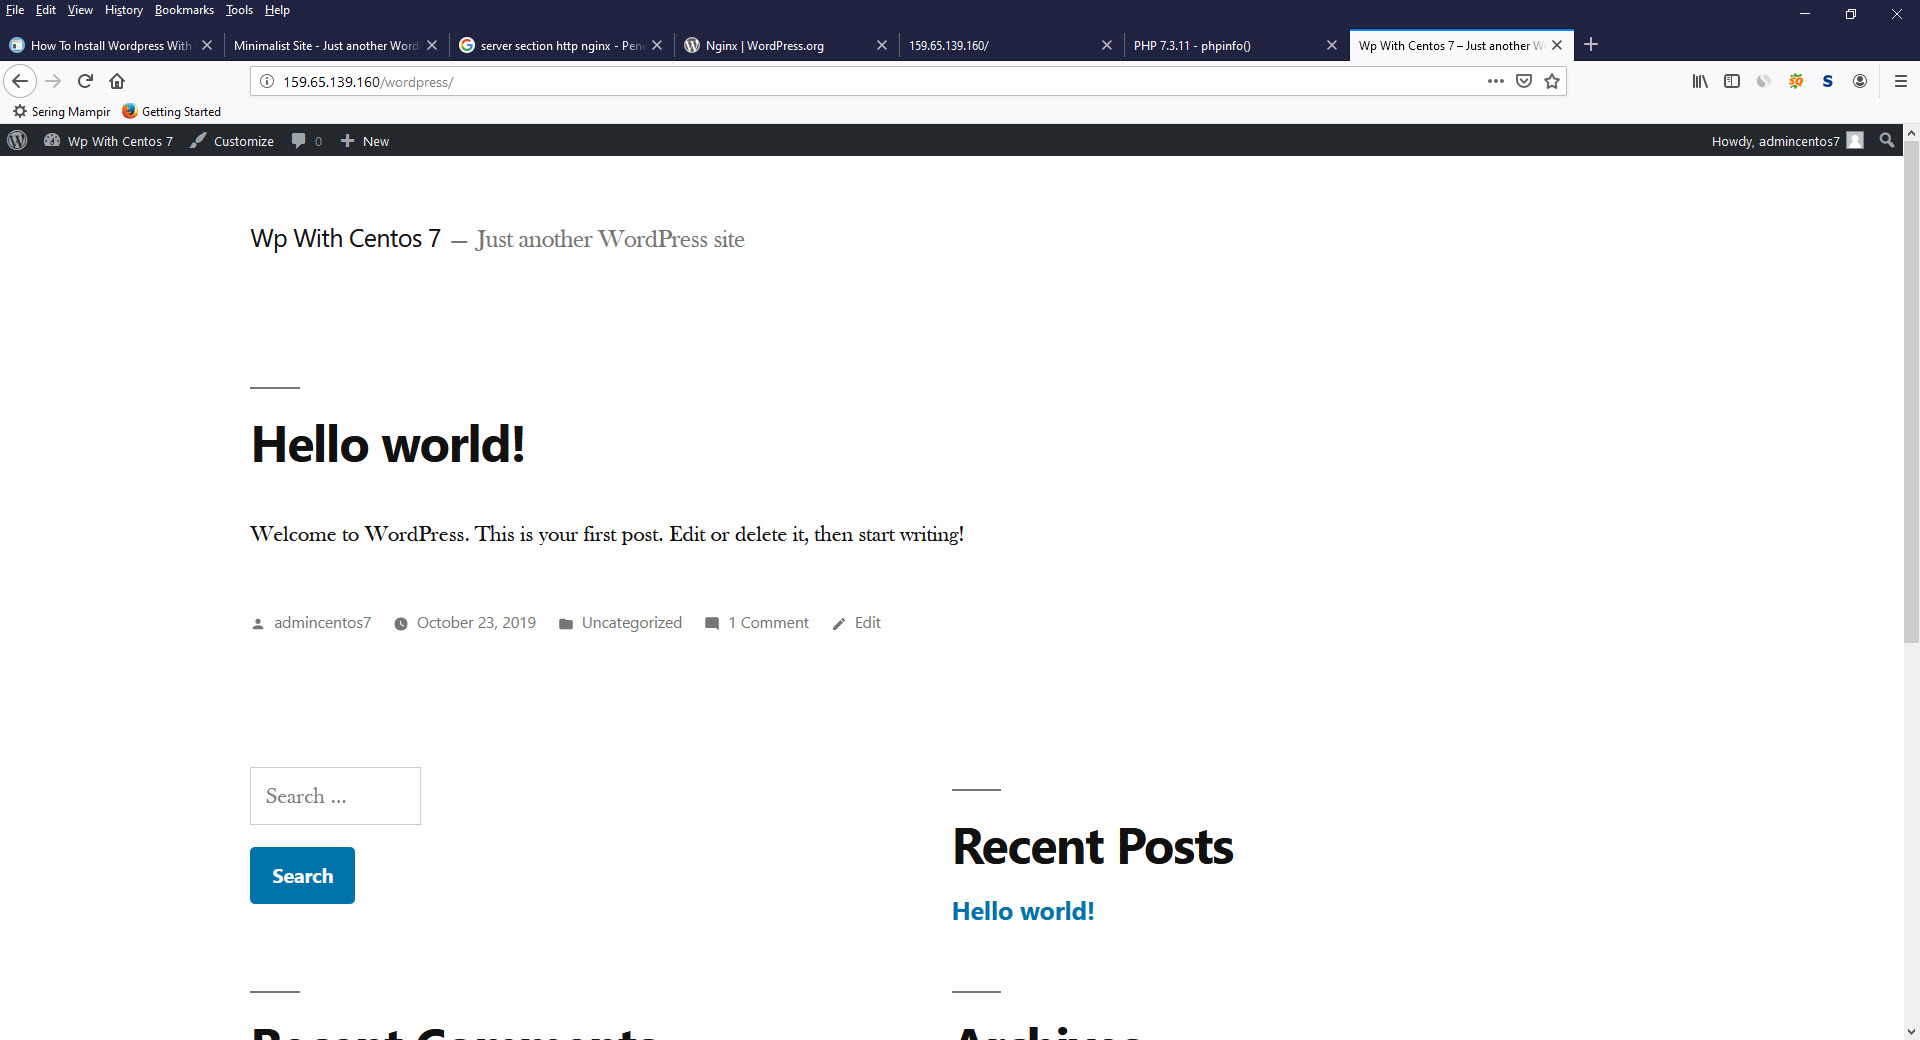
46. If you click the Home Icon at the top of the page, it will take you to your blog. Click on it and take a look. It should look very similar to this.
We hope this article has been helpful in showing you how to install Wordpress with nginx on Centos 7. Wordpress is a powerful Web application and we hope we have shown you how to get it set up for your needs.
Tags :
