How To Create Blog On Blogspot Using Custom Domain
Many people are getting enthusiastic about creating a blog. Being able to start a blog today give you a head start over other peoples. When creating a blog, you need to know kind of problem people is having and understand how to solve it properly. That's why in this blog post, I am going to cover how to create blog using custom domain on Blogspot. Why Blogspot?
With Blogspot, your blog will be served via Google infrastructure that is lightning fast for free. And it is easy to use even for a newbie. No more term "hosting suspend". All you need to do is to absorb ideas around and start writing something useful.
Good things might happen to a good person. Hopefully, One day you will be rewarded with some cash for being so helpful.
Read on to figure out how to register google account, create a blog, publish a content, pick up a theme, order domain, point domain to Blogspot, etc.
How To Create Blog Using Custom Domain On Blogspot
1. Create Google Account.
At first you need to create google account. Go to https://accounts.google.com/sigNup and create one.
Prepare your personal data and cell phone number. Fill all field with your personal data. Google also need to verify your existence via cellphone. Place the verification code to the field provided.
If you have gmail account, it is enough to start using blogspot.
2. Create Your First Blog.
Once you have created a google account, head over to blogspot.com. The Blogspot system will be able to log you in into Blogspot user dashboard to create a blog.
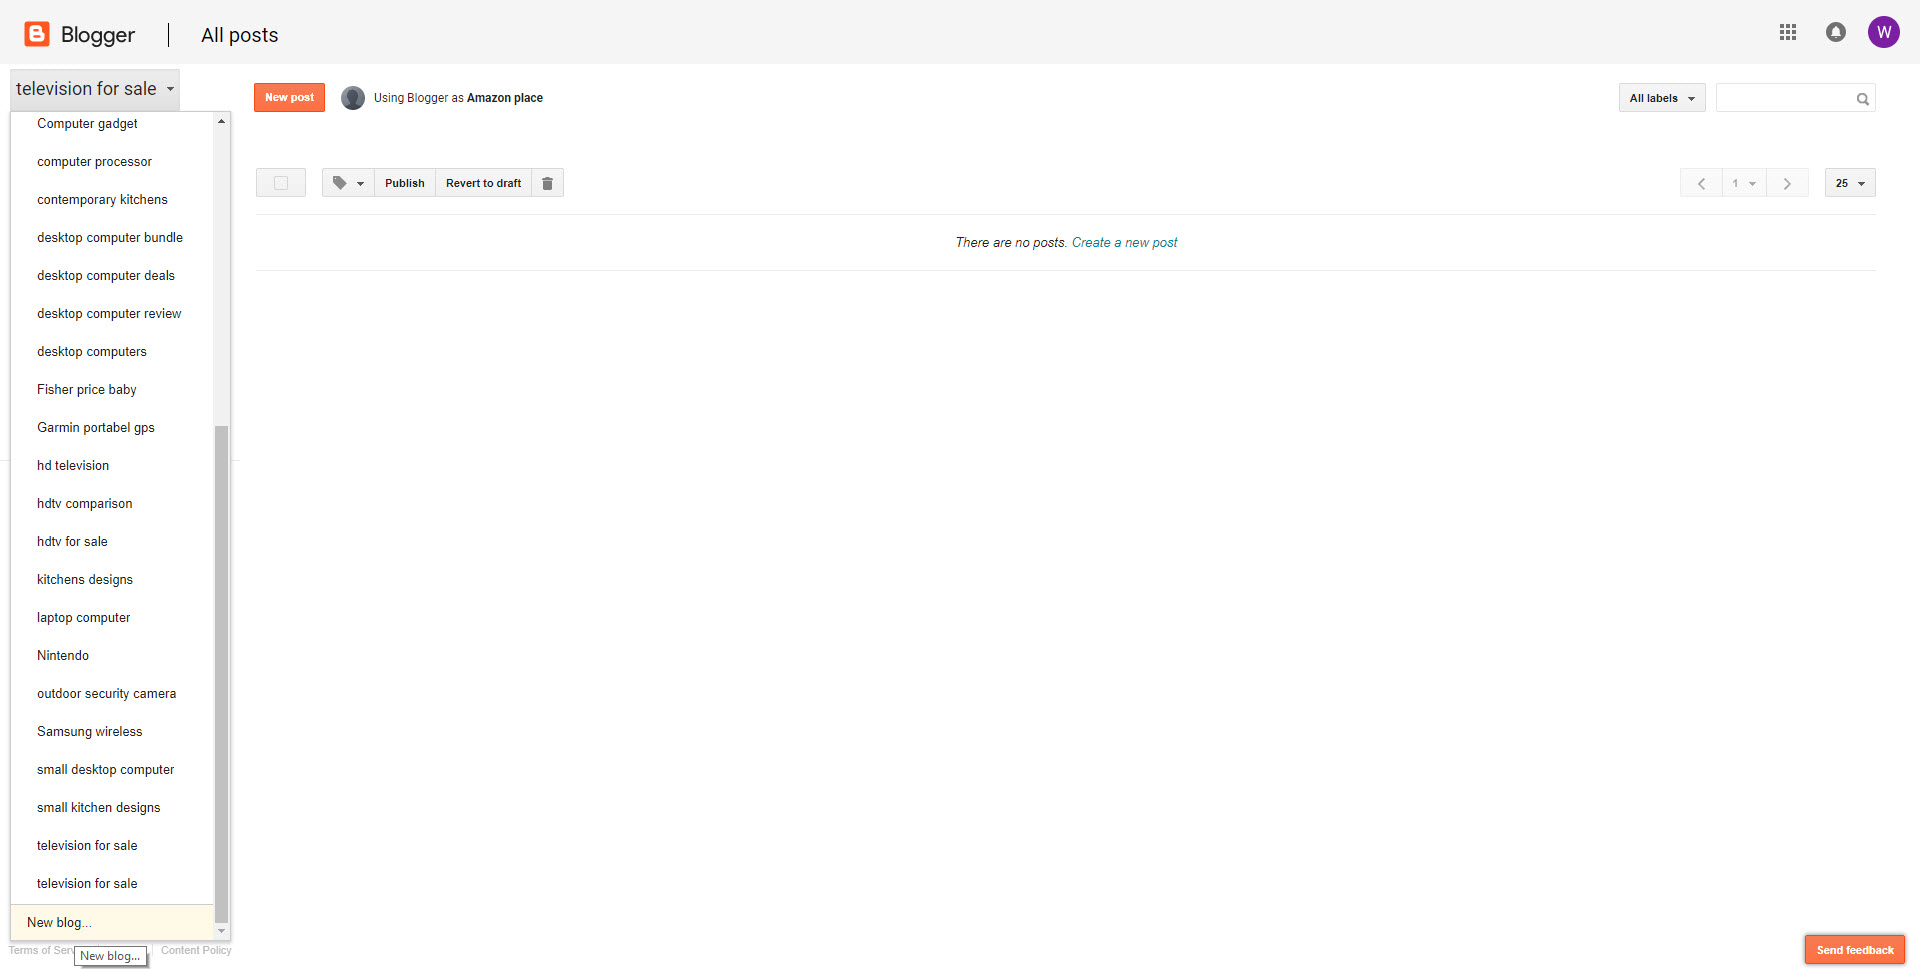
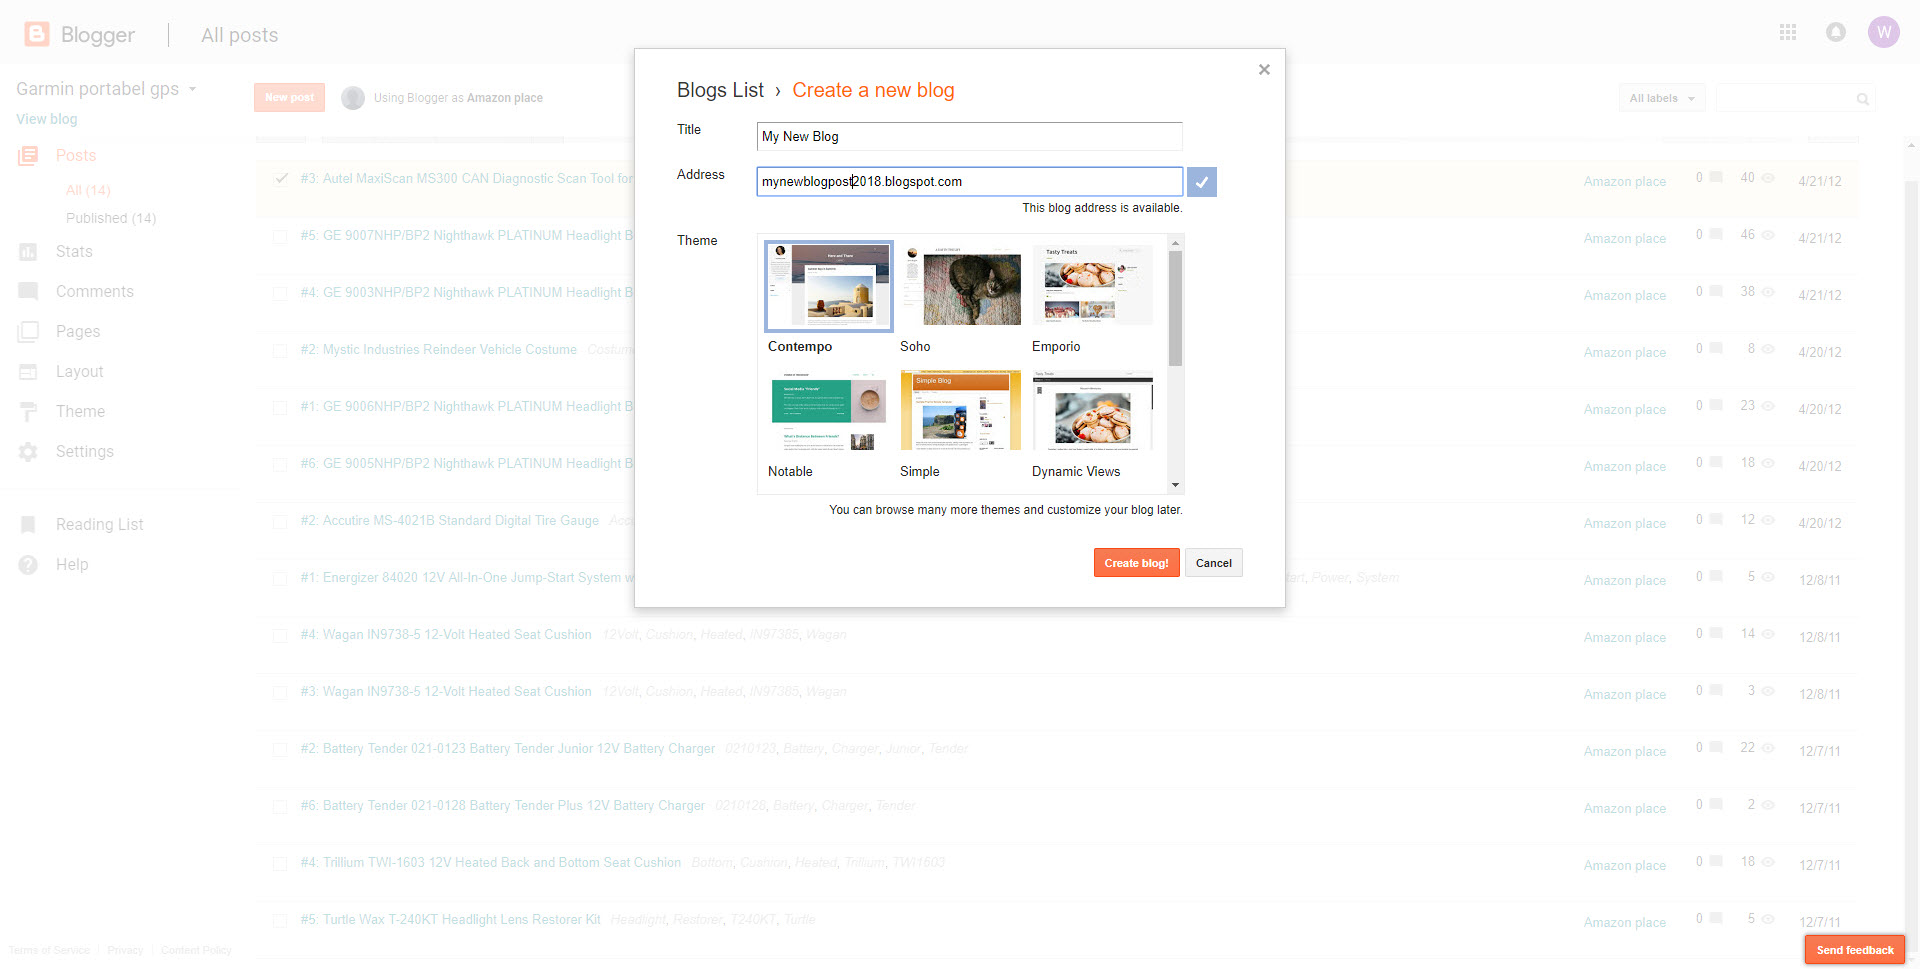
In the top-left of the dashboard, there is a "new blog button" to create a new blog. Click on it to start building your first blog on Blogspot.
3. Your First Post.
Let's start your first blog post. SEO masters say you need more than 300 words. Some say 3000 words. Wow, a lot of work. Yoast the creator of the SEO plugin for wordpress advice to limit the number of blog post to 300 at a minimum.
Neil Patel an internet marketer who has few SEO tools encourage you to have 3000 words when it comes to attracting search engine signal.
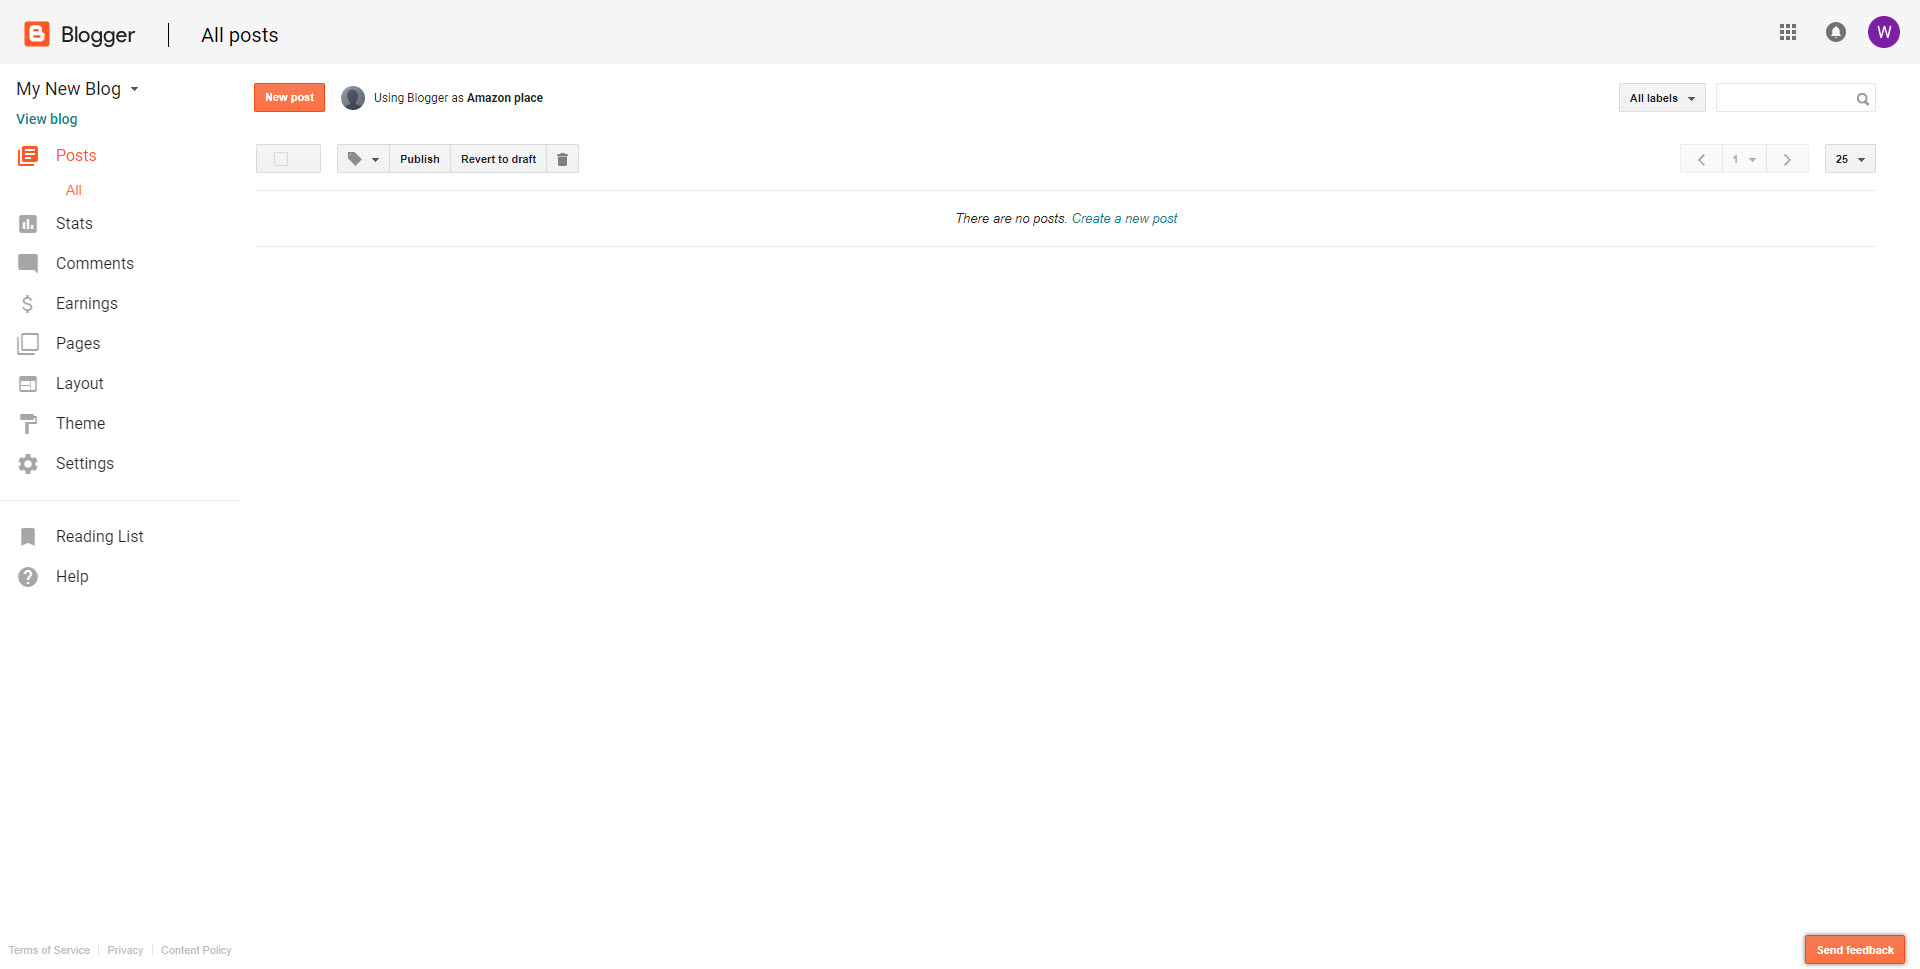
Click on posts button. It will lead you to a blog post editor.
4. Optimize Blog Post URL.
Your Blogspot URL will look like this https://yourfirstblog.blogspot.com/month/year/blog-post-title.html.
Example :
https://yourfirstblog.blogspot.com/10/2018/start-blog-on-blogpost.html
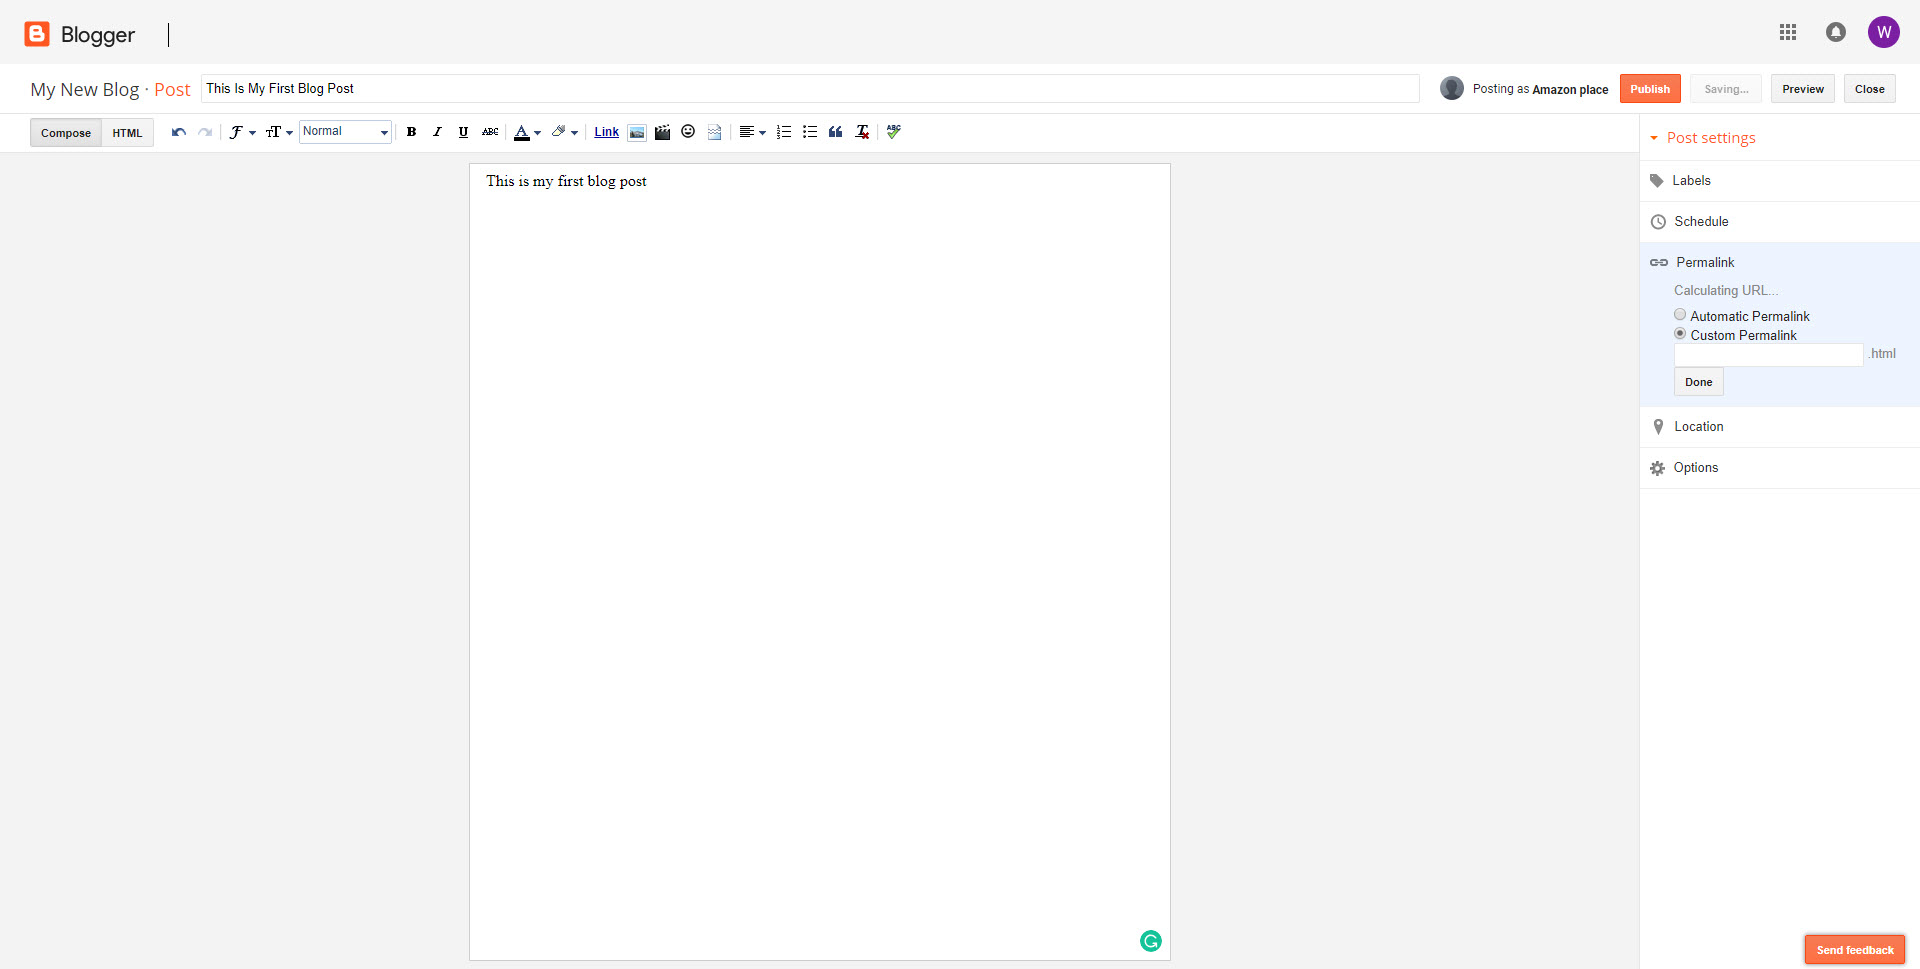
Blogspot has two option regarding the URL of your blog post, automatic permalink and custom permalink.
If you need to include all the title into the URL, you need to hit custom permalink button and copy paste the title into it, then press the save button.
Some SEO masters say you need to have all the title to include in the URL. The others are not.
5. Change Theme.
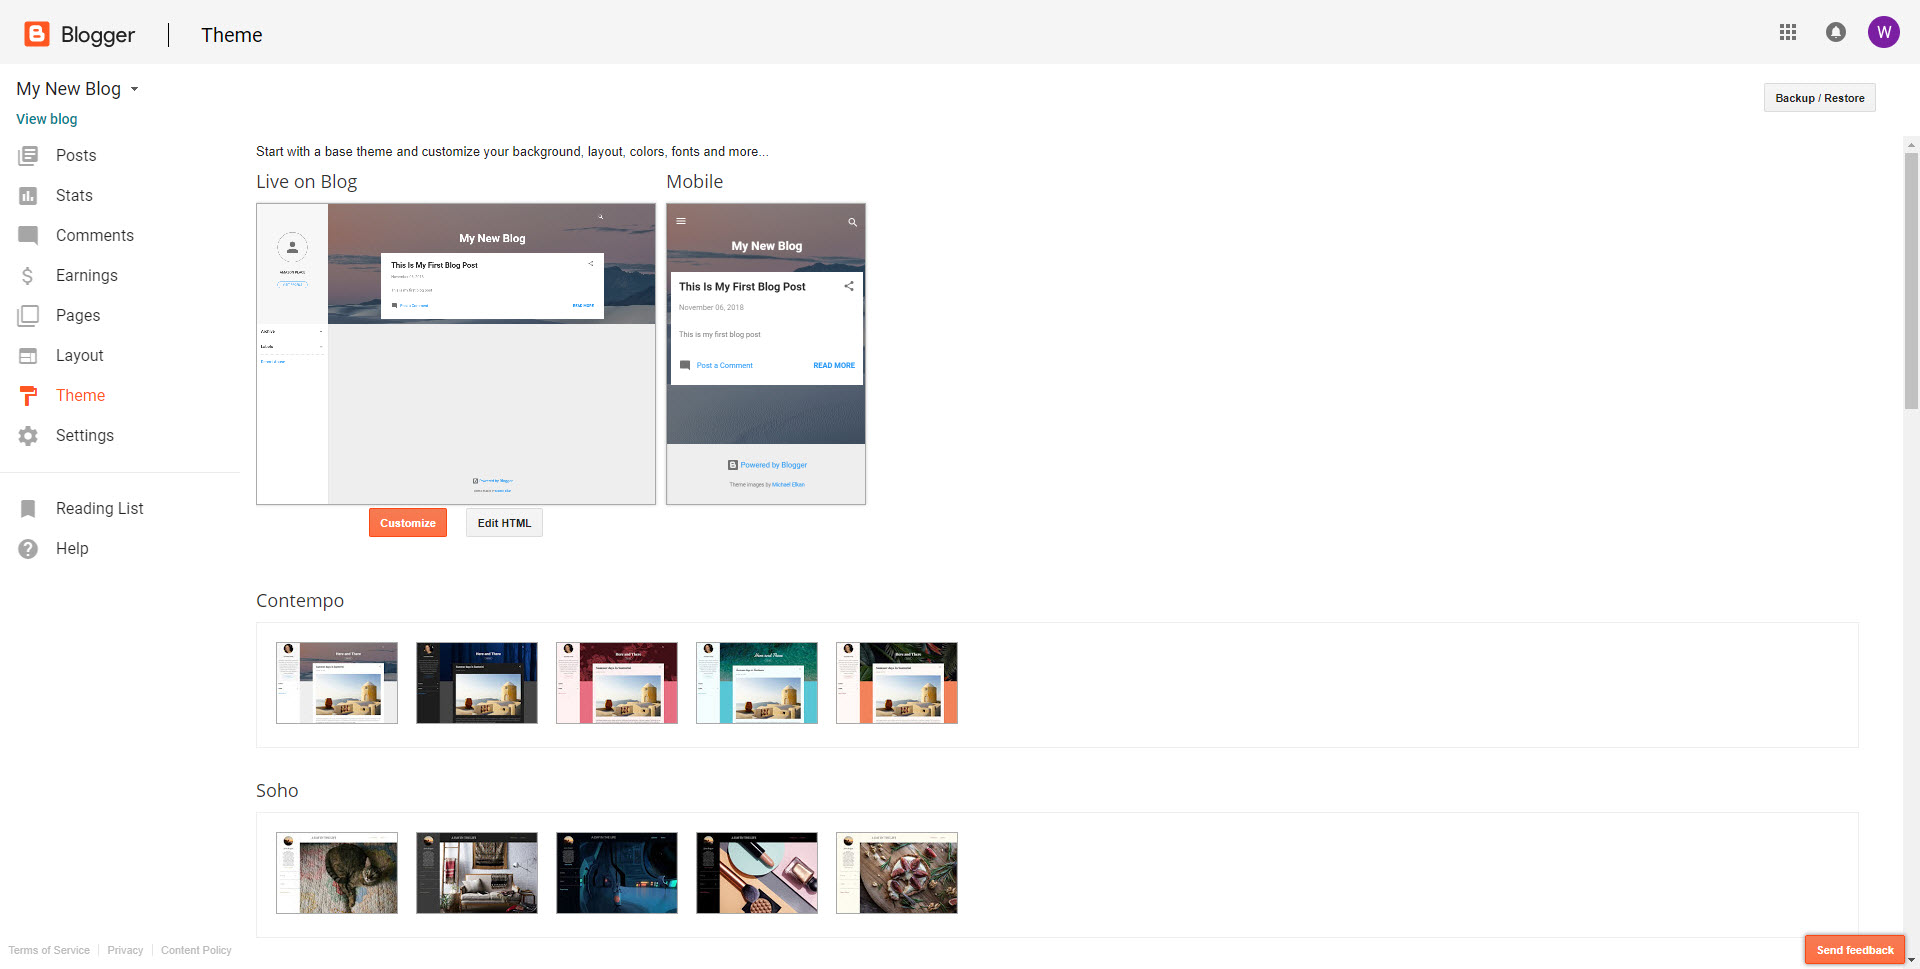
You can install a new theme. To do this, click on "layout" and then "edit html". Copy all source code of the new theme and paste it into the theme editor and hit save. You can buy a new Blogspot theme from ThemeForest.
Before you purchase, make sure that the Blogspot theme is easy-to-use and ready to customize.
6. Optimize Description.
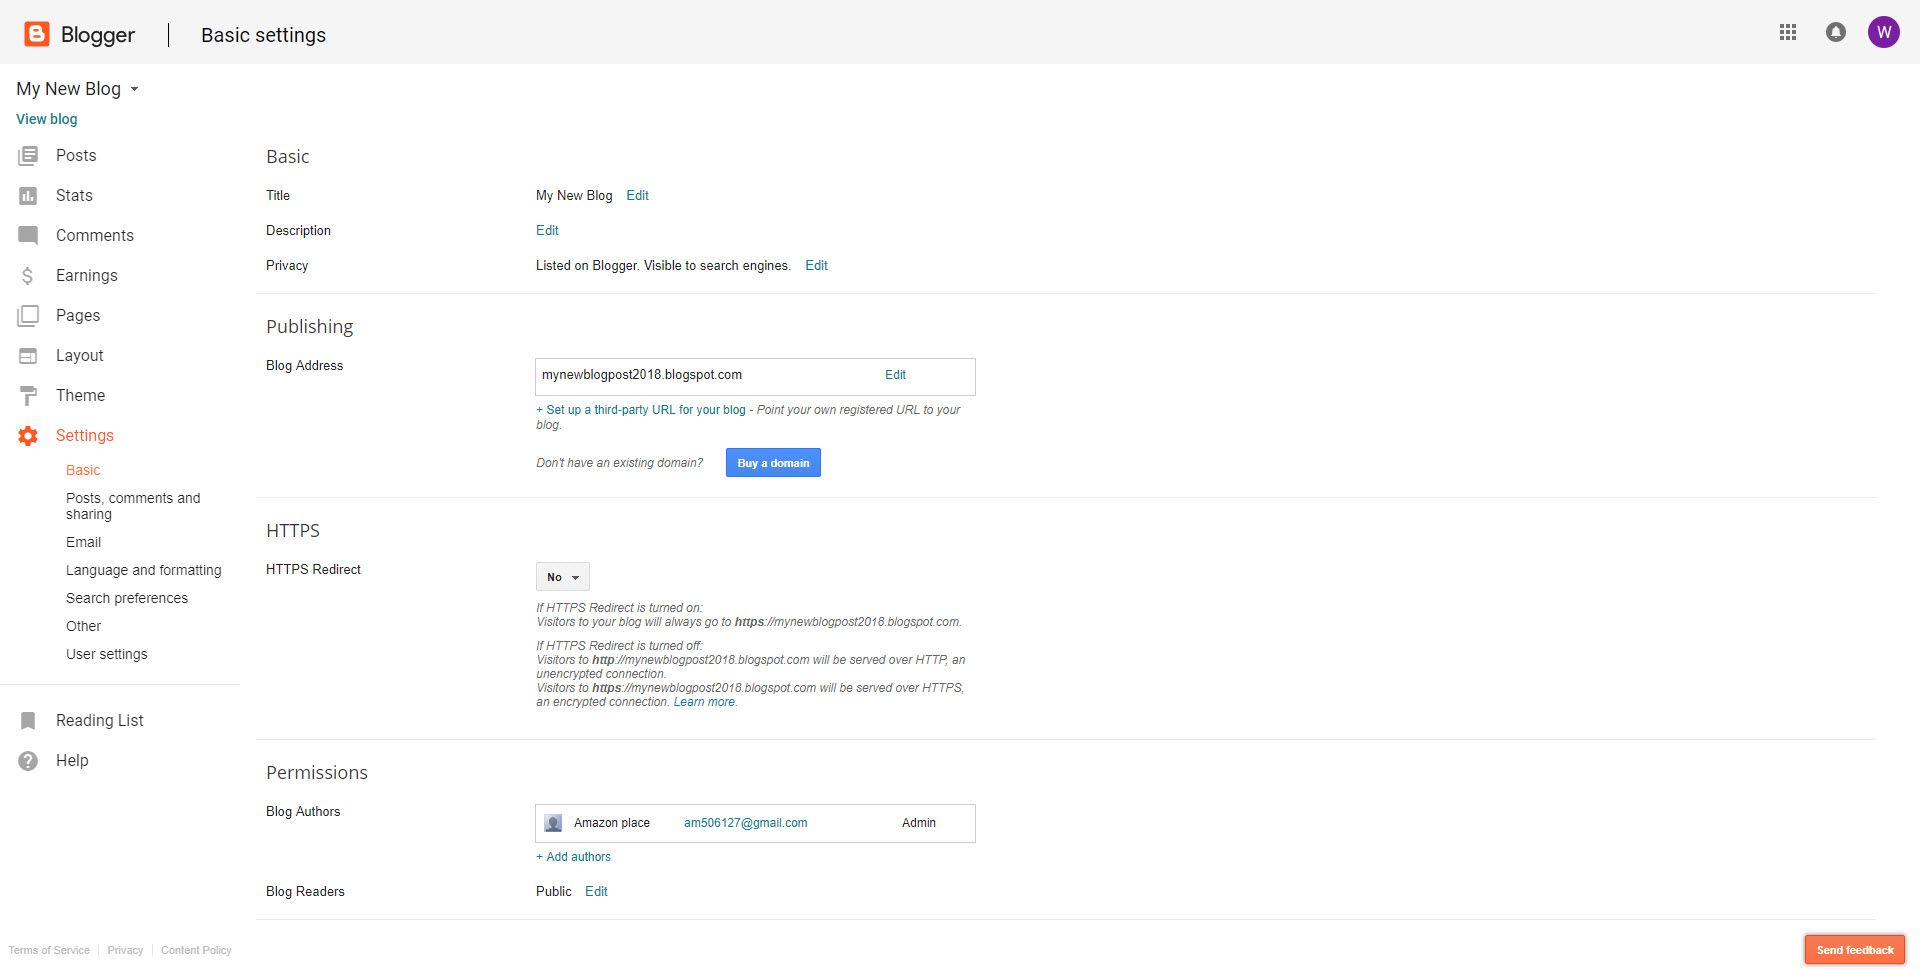
You can have your own description for your home page and blog post. Click on setting and basic button. You can find a description with edit button. Click on edit button and fill it with your own description.
To have the description exist in the meta description section of source page of the blog, you need to put this code in your Blogspot theme.

7. Built-in Analytics
Blogspot has built-in analytics so you can view your blog within the blogosphere. It will tell you about what the most of your blog post.
As an alternative, there is google analytics and histats.com. To start using google analytics, click on setting->basic, and place its ID to the field provided.
To use histats, grab the code from the site and place it in the bottom or in the sidebar of your blog.
8. Adsense
Google allows you to monetize your blog by putting the AdSense code on your blog. Before having ability to display Google AdSense, you need to apply to join Google AdSense program.
Once accepted, your blog will start displaying the ads. Google AdSense can automatically post relevant ads on your site.
Another monetization method is allowed alongside Google Adsense.
9. Promote The Blog
Blogosphere is crowded. You can put your money into buying Google AdWords ads to promote your blog. When it comes to buying ads, wise up to the return of investment. Make sure it is workable.
10. Activate SSL
SSL is one of Google's SEO ranking factors you should be aware. It is free. So there is nothing to lose to do it.
To activate the SSL, click on the following: setting, basic and then make the switch "HTTPS Redirect" from No to Yes.
Order Domain
To increase your visibility, I encourage you to have a domain of your own.
You can register a new domain via Blogspot or Google domains right now. Google domains is a new service. In a few countries, this is still beta.
If you like to buy a domain from Google domains, head over to https://domains.google.com to register a new domain.
As an alternative, you can buy a domain from another registrar such as name.com, namecheap.com, etc.
The next step is to setup custom domain on Blogspot.
Setup A Custom Domain On Blogspot
Why do you need a custom domain? From my point of view, good and bad things are unpredictable. You can not predict how long Blogspot stand. By having a custom domain, you can migrate your blog to another platform anytime such as wordpress.
If you register the domain via Blogspot or google domains, you can have your domain hosted instantly on Blogspot.
If you register the domain via another registrar, follow these step by step :
1. Click the following: setting, basic and set up a third-party URL for your blog. Type your domain, example: www.myawesomeblog.com.
2. Create two CNAMEs :
a. www point to ghs.googlehosted.com
b. The second CNAMEs is specific for any domain. You will have an error firstly, and then Blogspot will instruct you to create CNAMEs refer to a specific URL.
3. Create A-record
This is optional. You do this if you want to redirect your domain myawesomedomain.com to www.myawesomedomain.com
Setup up your domain DNS setting to have A-record points to the IP below :
a. 216.239.32.21
b. 216.239.34.21
c. 216.239.36.21
d. 216.239.38.21
To start redirect to www, click the following: setting, basic, check redirect to www.myawesomeblog.com.
You have to wait up to 24 hours to reflect well on all the setup. If you have a problem, you can ask your domain registrar to do it.
Backup Your Blog
After your blog is up and running, you need to backup it continually. To do this, click on setting->other. Again, click on backup content.
Tags :
