Cara Install Apache Mariadb PHP (LAMP) Di VPS Server Centos 7
Pada tutorial kali ini saya menuliskan tutorial cara install dan setup apache, mariadb dan php di vps server Centos 7. Karena Centos 7 masih sangat bagus untuk digunakan untuk sekedar nge-blog menggunakan wordpress atau joomla. Fitur-fitur yang disediakan masih layak dipakai dan powerfull.
Sebagaimana pada postingan sebelumnya, telah saya sebutkan bahwa Centos 8 telah dirilis dan anda bisa meng-install lamp dan lemp pada centos 8. Ternyata ada beberapa perubahan sedikit yang mungkin perlu anda tahu. Misalnya fitur nginx yang lebih mudah dicompile dengan mod_security pada centos 7. Pada Centos 8 jika nginx dicompile dengan mod_security, memory yang digunakan menjadi sangat besar. Jika anda menggunakan Centos 8 untuk nge-blog memakai wordpress, memori yang dibutuhkan minimum adalah 1 GB agar dapat berjalan dengan baik. Tentu ini kabar yang kurang baik jika anggaran nge-blog anda minim.
Okelah kalau begitu, langsung saja saya tuliskan bagaimana install dan setup LAMP di Centos 7.
Install Apache
Untuk meng-install apache pada centos 7, lakukan perintah berikut melalui command line.
yum install httpdStart apache
systemctl start httpdRestart apache
systemctl restart httpdMelihat status apache
systemctl status httpdUntuk melihat apakah httpd sudah berjalan dengan benar, anda buka ip dari vps anda atau domain anda lewat browser. Jika ternyata tidak bisa, lakukan langkah berikut:
a. Buat file index.html dengan isi misalnya "Hello Centos 7". Letakkan file tersebut di dalam folder /var/www/html.
nano /var/www/html/index.htmlb. Sekarang, buka sekali lagi ip dari vps anda atau domain anda lewat browser. Maka akan muncul halaman index.html tersebut.
Install Mariadb Server
Untuk meng-install mariadb server pada Centos 7, lakukan perintah berikut melalui command line.
yum install mariadb-serverStart mariadb server
systemctl start mariadbRestart mariadb server
systemctl restart mariadbMelihat status mariadb server
systemctl status mariadbAgar mariadb-server menjadi "secure", lakukan langkah berikut :
mysql_secure_installationPada tahap ini yang terpenting dan perlu diperhatikan adalah :
● Set root password: jawab "y" dan buatlah password
● Remove anonymous users: jawab "y"
● Disallow root login remotely: jawab "y"
● Remove test database and access to it: jawab "y"
● Reload privilege tables now: jawab "y"
NOTE: RUNNING ALL PARTS OF THIS SCRIPT IS RECOMMENDED FOR ALL MariaDB
      SERVERS IN PRODUCTION USE!  PLEASE READ EACH STEP CAREFULLY!

In order to log into MariaDB to secure it, we'll need the current
password for the root user.  If you've just installed MariaDB, and
you haven't set the root password yet, the password will be blank,
so you should just press enter here.

Enter current password for root (enter for none):
OK, successfully used password, moving on...

Setting the root password ensures that nobody can log into the MariaDB
root user without the proper authorisation.

Set root password? [Y/n] y
New password:
Re-enter new password:
Password updated successfully!
Reloading privilege tables..
 ... Success!


By default, a MariaDB installation has an anonymous user, allowing anyone
to log into MariaDB without having to have a user account created for
them.  This is intended only for testing, and to make the installation
go a bit smoother.  You should remove them before moving into a
production environment.

Remove anonymous users? [Y/n] y
 ... Success!

Normally, root should only be allowed to connect from 'localhost'.  This
ensures that someone cannot guess at the root password from the network.

Disallow root login remotely? [Y/n] y
 ... Success!

By default, MariaDB comes with a database named 'test' that anyone can
access.  This is also intended only for testing, and should be removed
before moving into a production environment.

Remove test database and access to it? [Y/n] y
 - Dropping test database...
 ... Success!
 - Removing privileges on test database...
 ... Success!

Reloading the privilege tables will ensure that all changes made so far
will take effect immediately.

Reload privilege tables now? [Y/n] y
 ... Success!

Cleaning up...

All done!  If you've completed all of the above steps, your MariaDB
installation should now be secure.

Thanks for using MariaDB!
Untuk login ke mariadb-server, ketik perintah berikut dan tekan tombol enter.
mysql -uroot -pKetikkan password yang anda buat.
Install PHP
Centos 7 tidak memiliki bawaan php 7. Saran saya sih, jangan gunakan php 5 lagi. Oleh karena itu kali ini saya akan menggunakan remirepo. Lakukan langkah berikut secara berurutan:
1. Install remirepo
wget https://dl.fedoraproject.org/pub/epel/epel-release-latest-7.noarch.rpm
wget http://rpms.remirepo.net/enterprise/remi-release-7.rpm
rpm -Uvh remi-release-7.rpm epel-release-latest-7.noarch.rpm
rpm -i epel-release-latest-7.noarch.rpm

yum install yum-utils
yum-config-manager --enable remi-php73
2. Install php
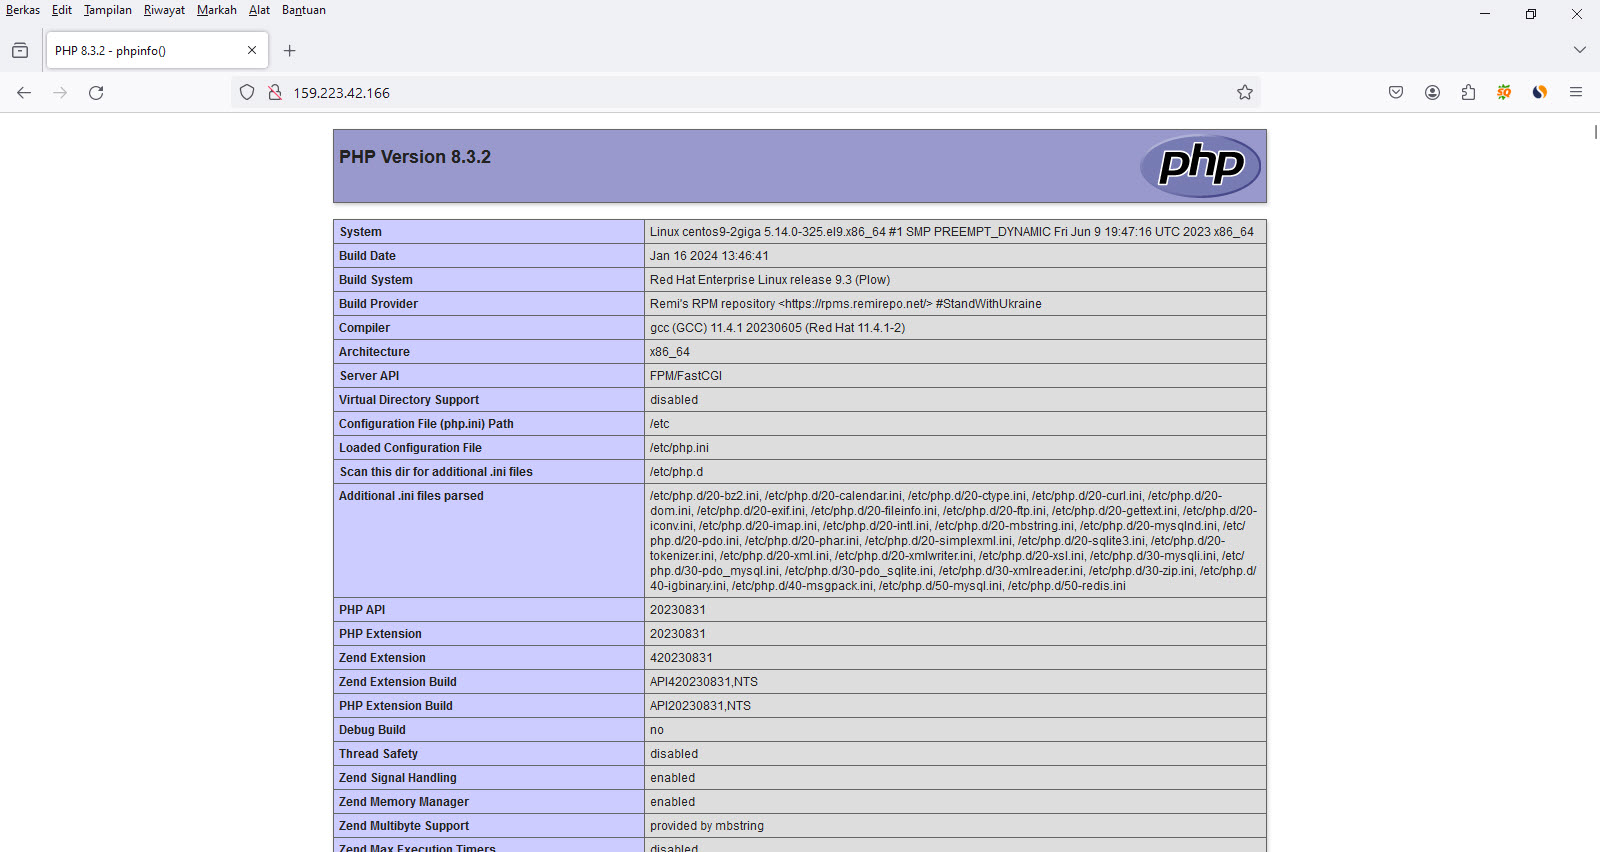
yum install php73-php-cli php73-php-common php73-php-gd php73-php-mbstring php73-php-mcrypt php73-php-xml php73-php-mysqlndUntuk mengecek apakah php sudah bisa berjalan normal, lakukan langkah berikut ini.
a. Buat file php, misalnya info.php. Letakkan file tersebut di folder /var/www/html
nano /var/www/html/info.phpb. Isikan script sederhana berikut ke dalam file info.php
<?php

// Show all information, defaults to INFO_ALL
phpinfo();

// Show just the module information.
// phpinfo(8) yields identical results.
phpinfo(INFO_MODULES);

?>
c. Sekarang buka file php tersebut lewat browser: http://ip_address/info.php.

Database Connection
Agar sistem ini yaitu LAMP dapat digunakan, sistem php harus dapat di-koneksi-kan ke mariadb server. Silakan lakukan beberapa langkah berikut ini.
a. Login ke mariadb server.
mysql -uroot -pb. Buat database baru.
create database testing;c. Buat database user
CREATE USER 'usertesting'@'localhost' IDENTIFIED BY 'Cwo48*&#';d. Grant all privileges, agar user dapat mengakses ke database yang barusan dibuat.
GRANT ALL PRIVILEGES ON testing.* TO 'usertesting'@'localhost';e. Buat file konek.php yang berisi script php berikut.
<?php
$servername = "localhost";
$username = "usertesting";
$password = "Cwo48*&#";

// Create connection
$conn = new mysqli($servername, $username, $password);

// Check connection
if ($conn->connect_error) {
    die("Connection failed: " . $conn->connect_error);
}
echo "Connected successfully";
?>
f. Selanjutnya kunjungi halaman berikut lewat browser: http://ip_address/konek.php. Jika terlihat status "Connected successfully", itu artinya php sudah berhasil konek ke mariadb server.
Jika php dapat konek dengan database server, anda bisa meng-install aplikasi php di sistem LAMP Centos 7. Anda bisa install wordpress, joomla dan lain sebagainya.
Demikian tutorial cara install apache mariadb php lamp di vps server centos 7. Semoga bermanfaat bagi para pemula yang belajar vps hosting server centos 7.
Tags :
